June 15, 2022 / by Prashant Gupta / In /
How to create a web chat bot in Pega?
In this article I will be explaining how to create a simple webchat bot using Pega Personal edition 8.7

I have listed down all the necessary steps below:
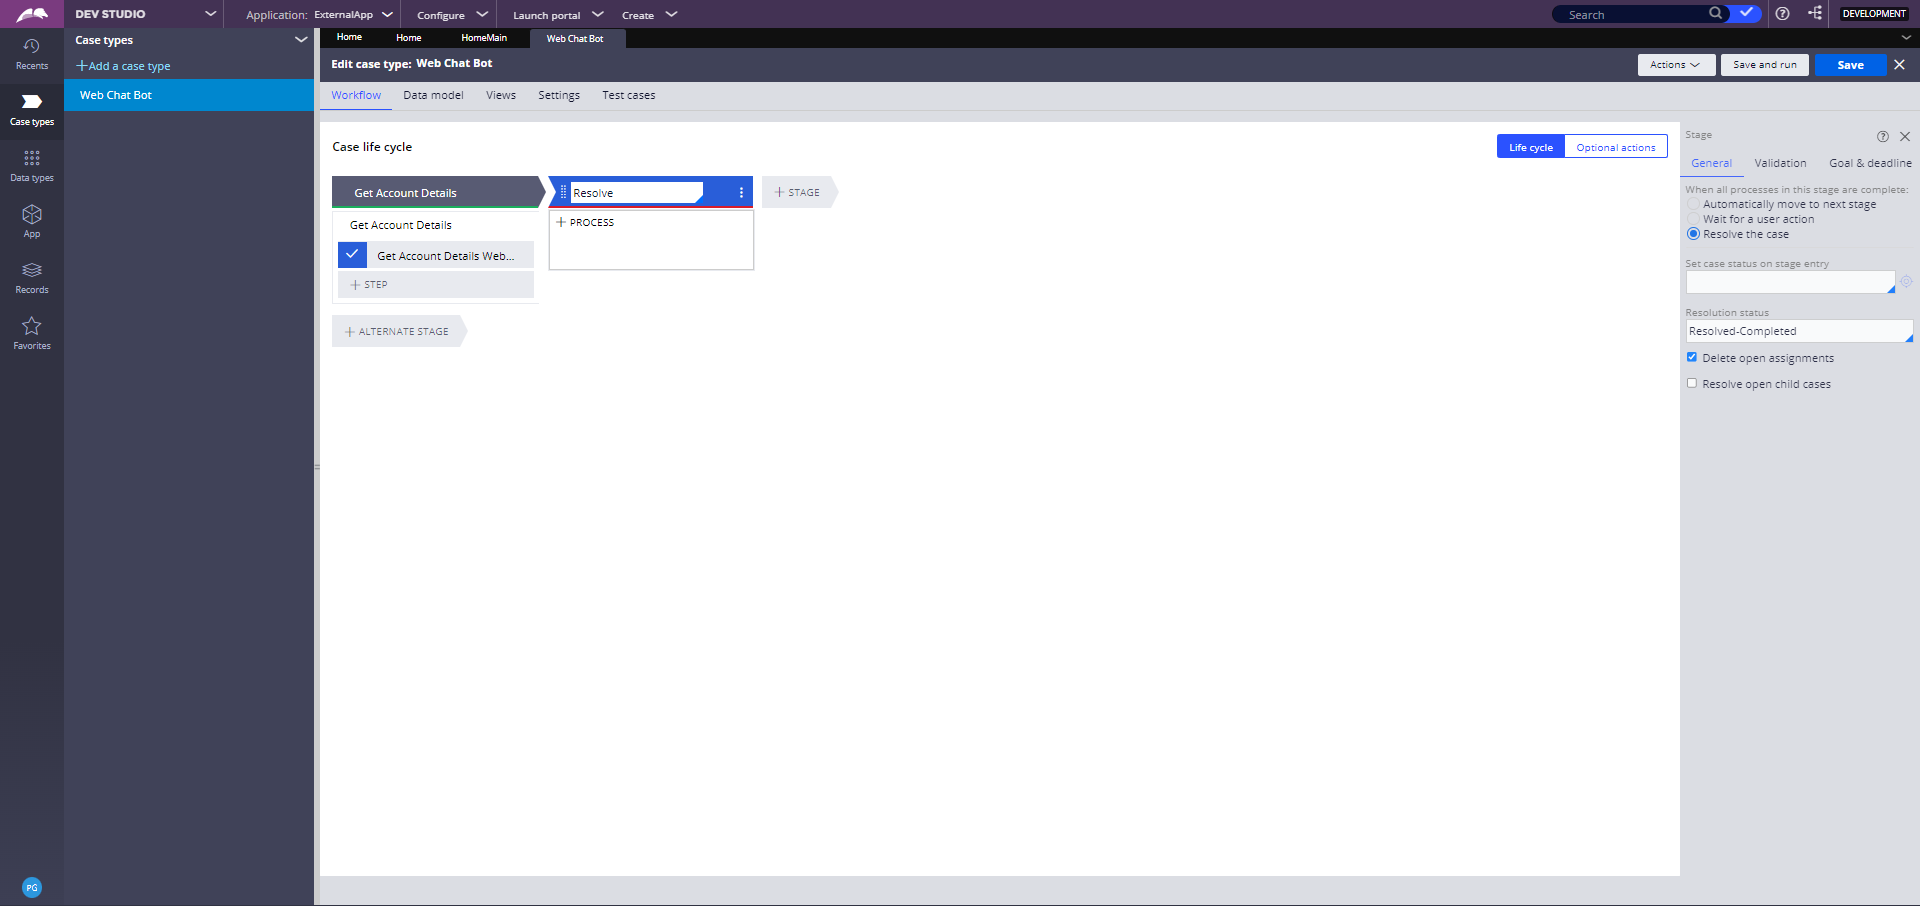
- First we have to create a new case type for web chat bot.
- Create a digital messaging channel (WebChatbot) in App studio.
- Download Pega AppFactory from Pega marketplace and import it in your application.
- Add AppFactory as a built on application in your application.
- Save-as the section AppFactoryChatBot in your application ruleset.
- Save-as the section EmbeddedAFChatBot in your application ruleset.
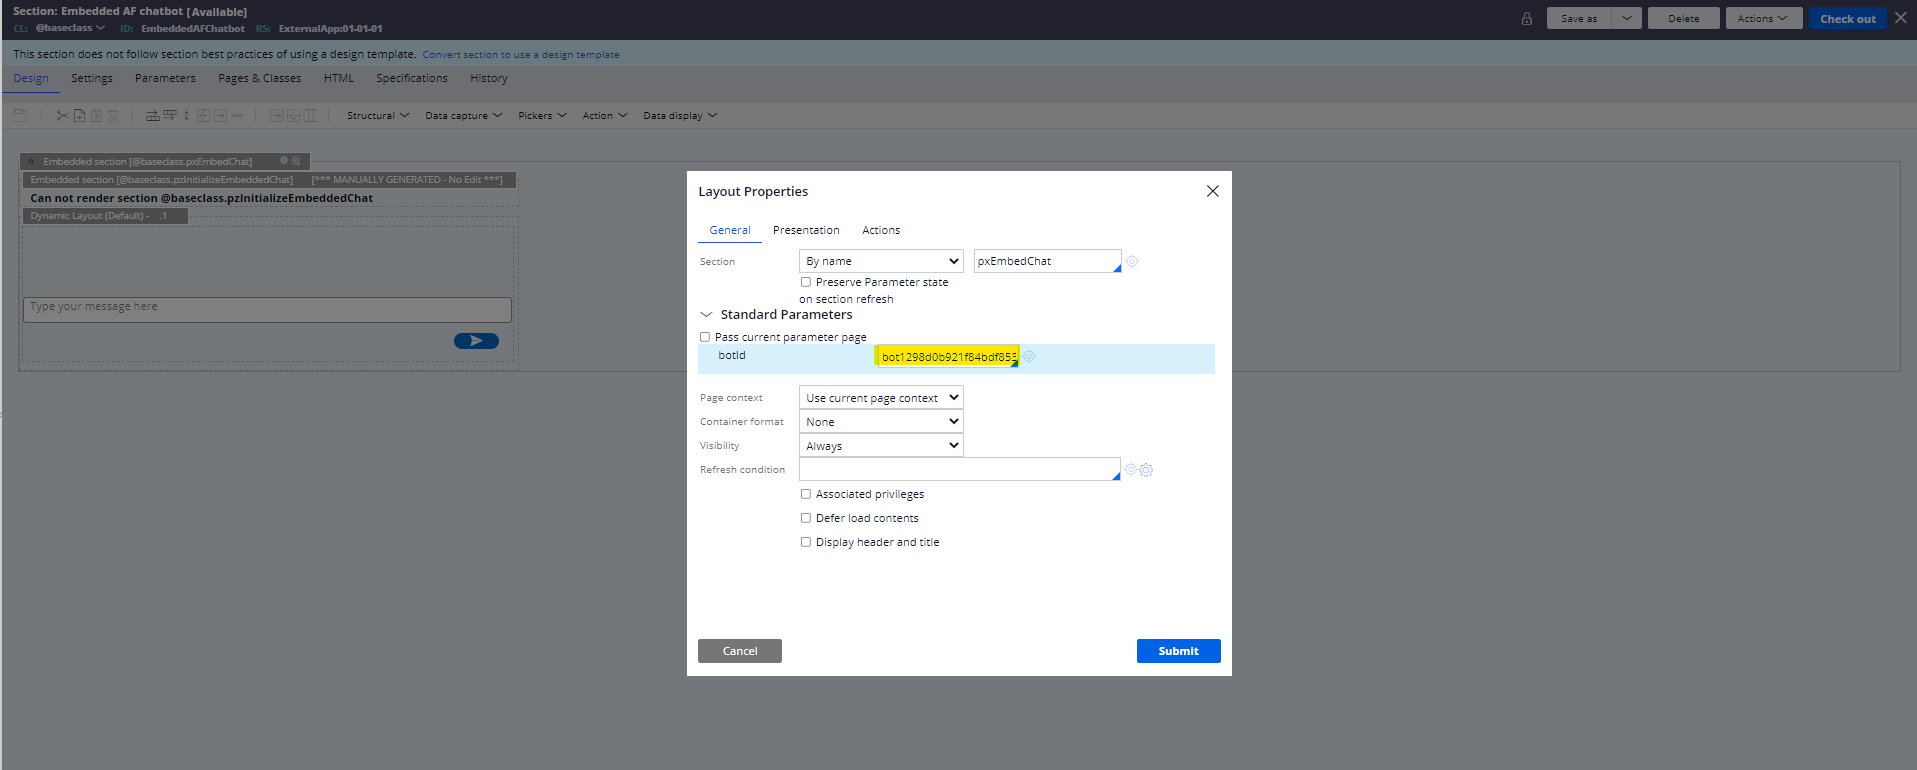
- Update the section EmbeddedAFChatBot with your bot ID.
- Add section AppFactoryChatBot in you portal section at the bottom.
- Log off and log in back to see the chat icon at the bottom right corner of your portal screen.
Create a case type
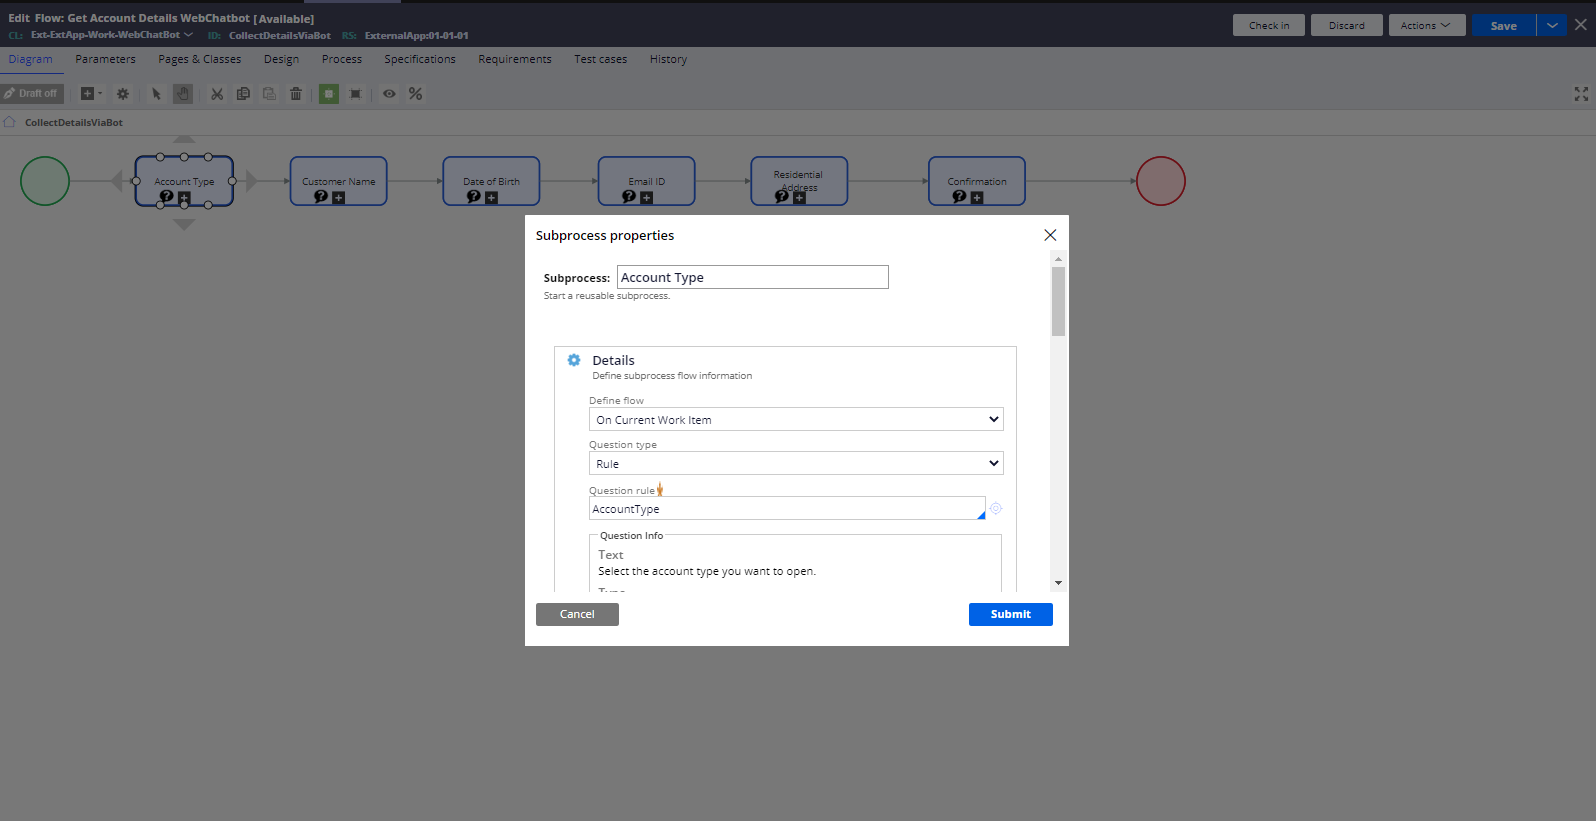
Here, I have created a subprocess and added question shape in the flow diagram which comes in automations category. We can add as many questions as we want.
For each question shape we will be creating question rule as shown below for Account Type question:
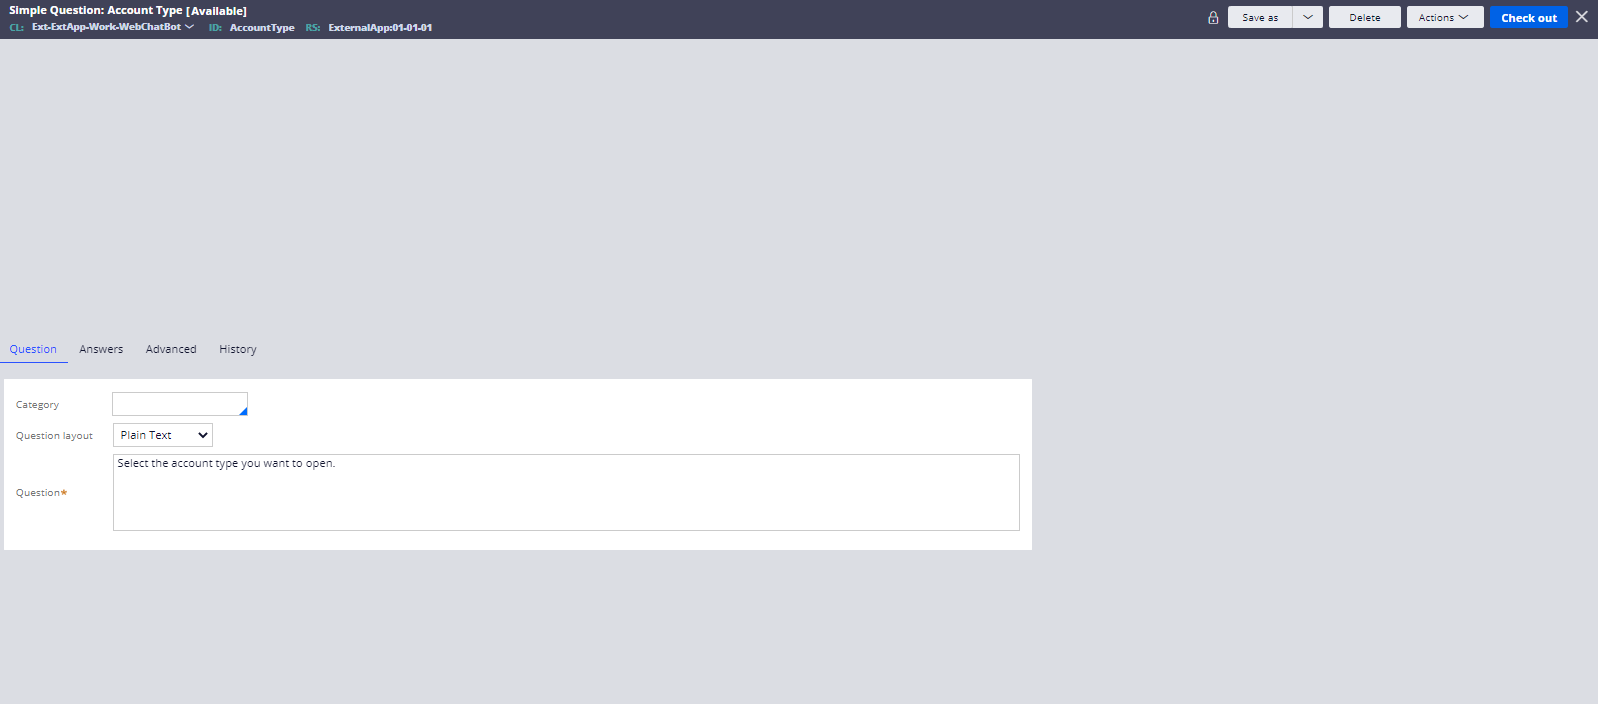
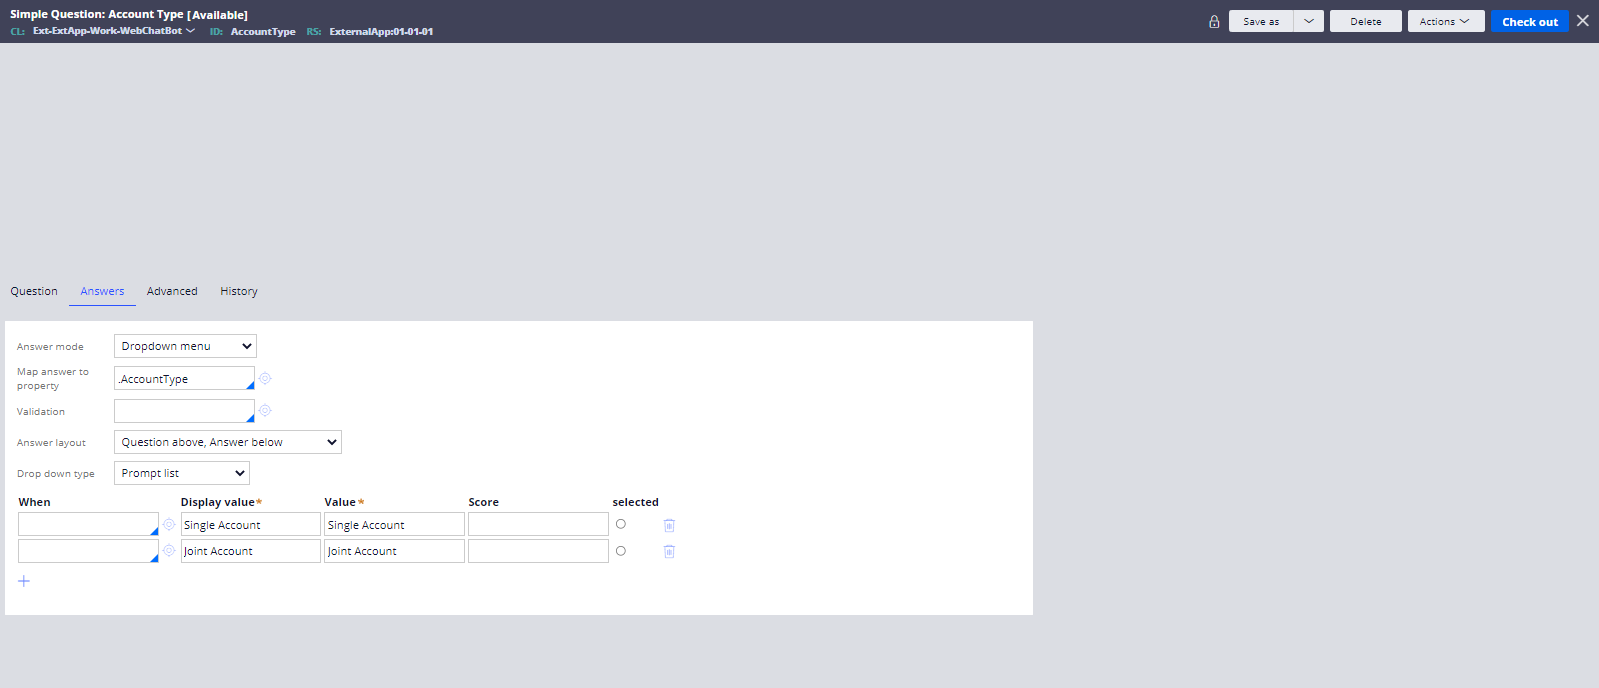
Similarly, we can configure all other questions as well.
Create a Digital Messaging Channel
Now go to App Studio and create a digital messaging channel.
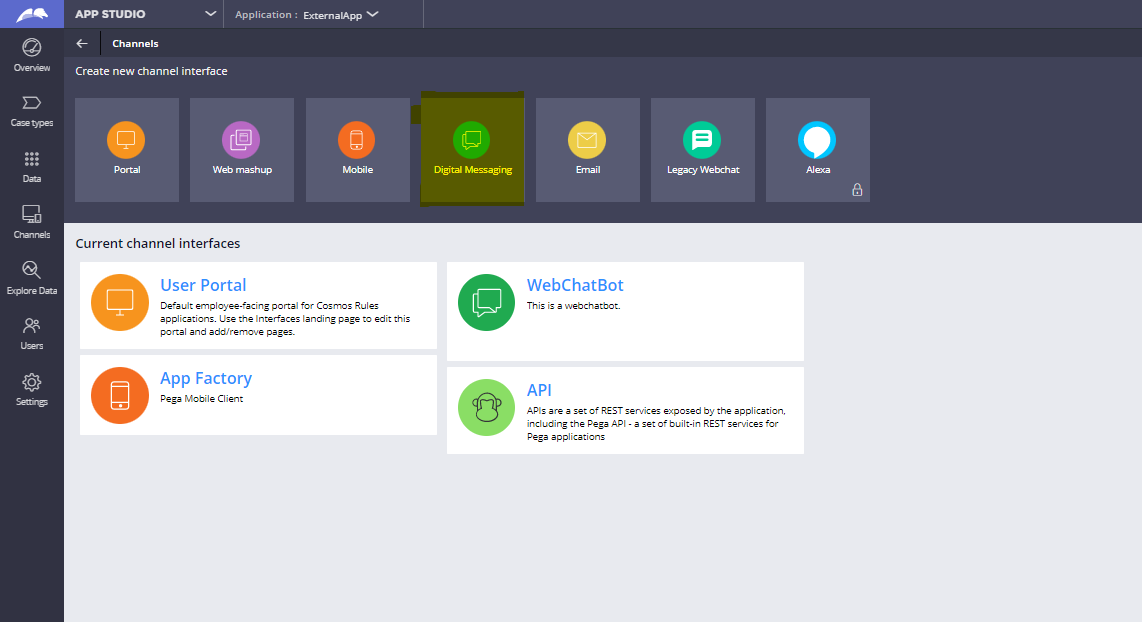
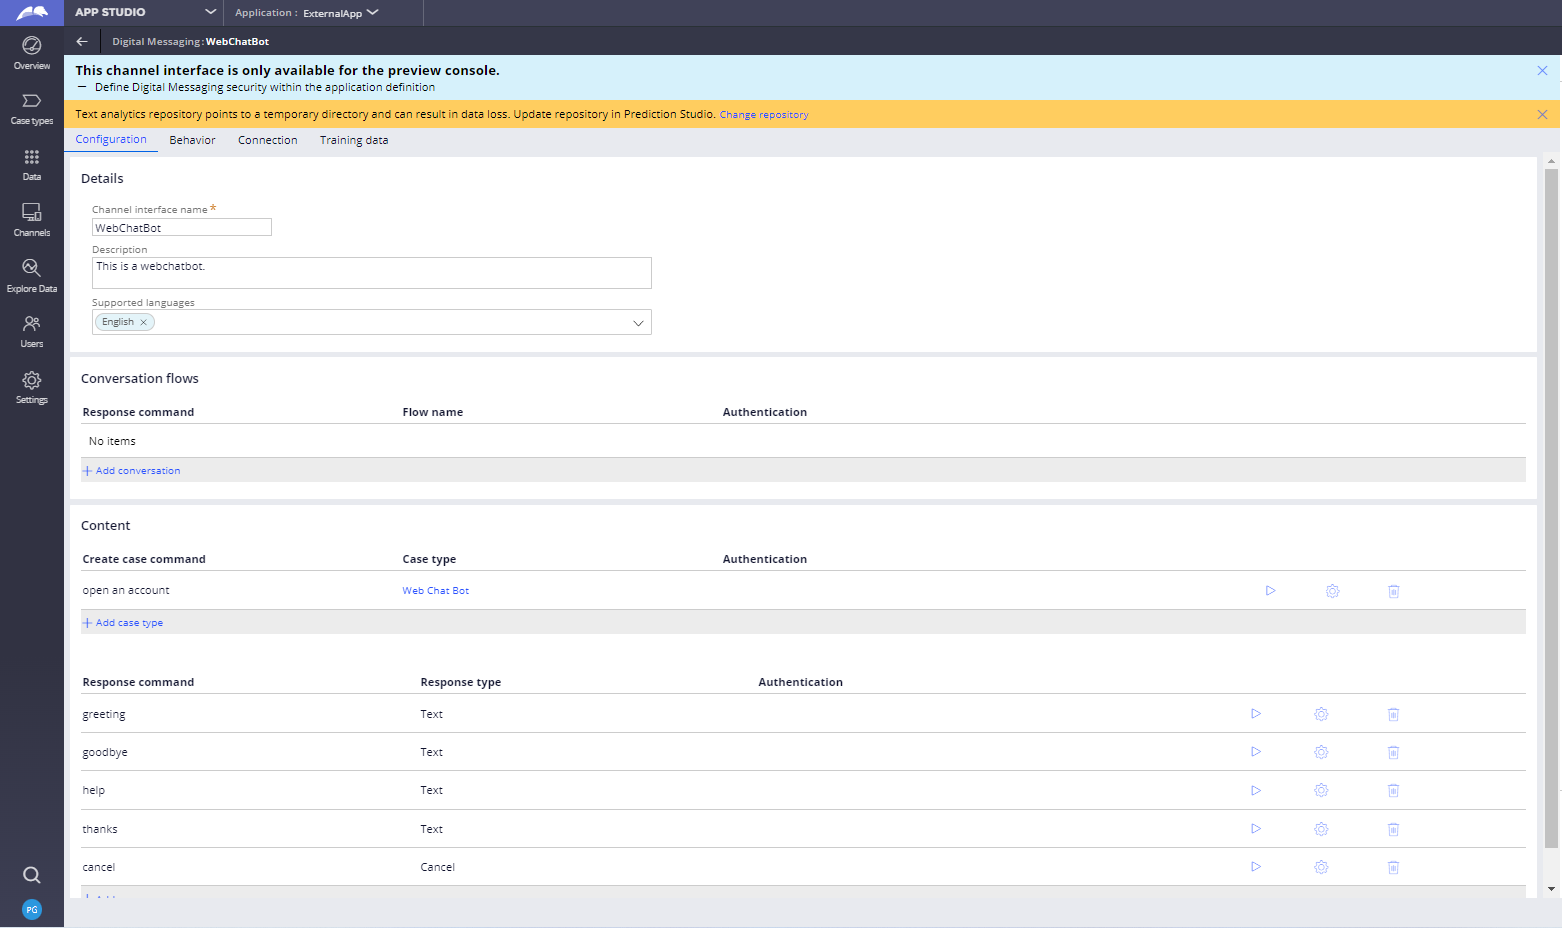
Now in configuration tab click on + Add case type in create case command
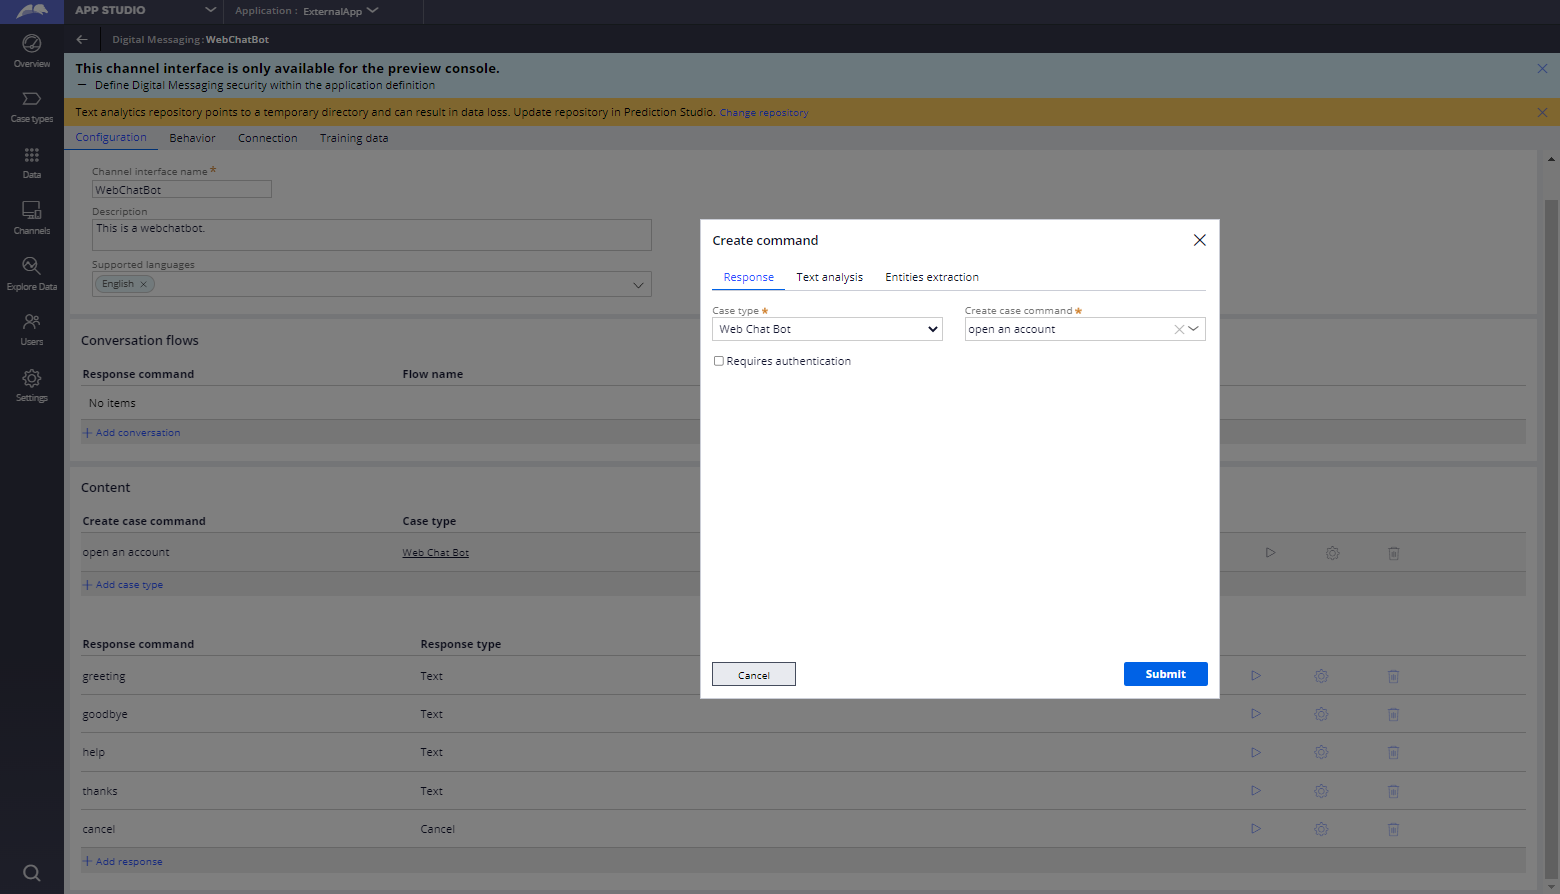
Select the case type from the drop down and add a create case command. Switch to Text analysis tab, so you can add keywords to create case command as shown below:
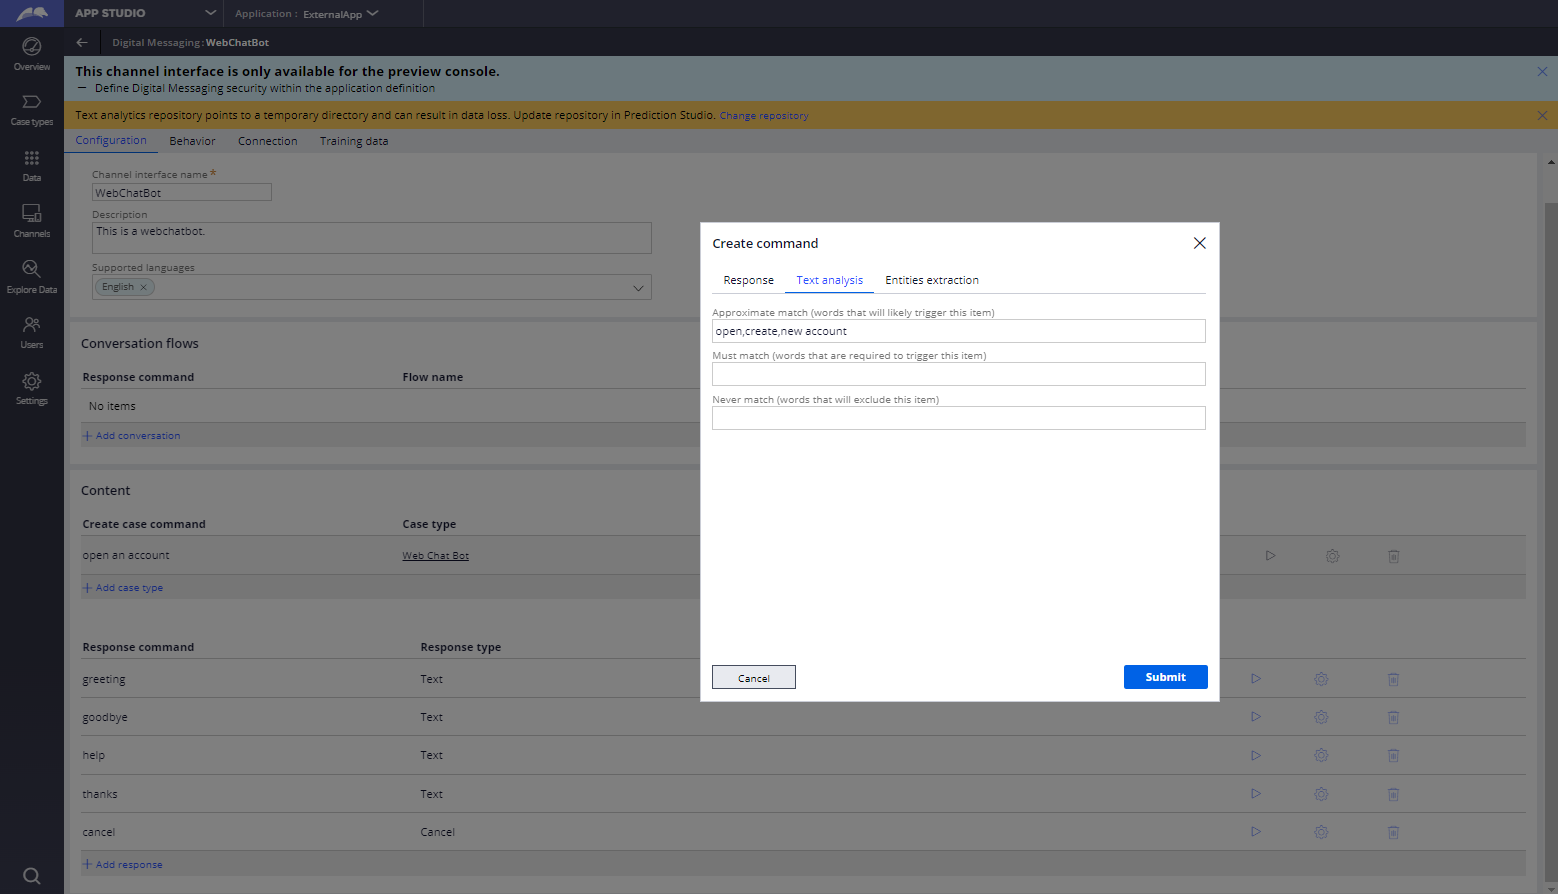
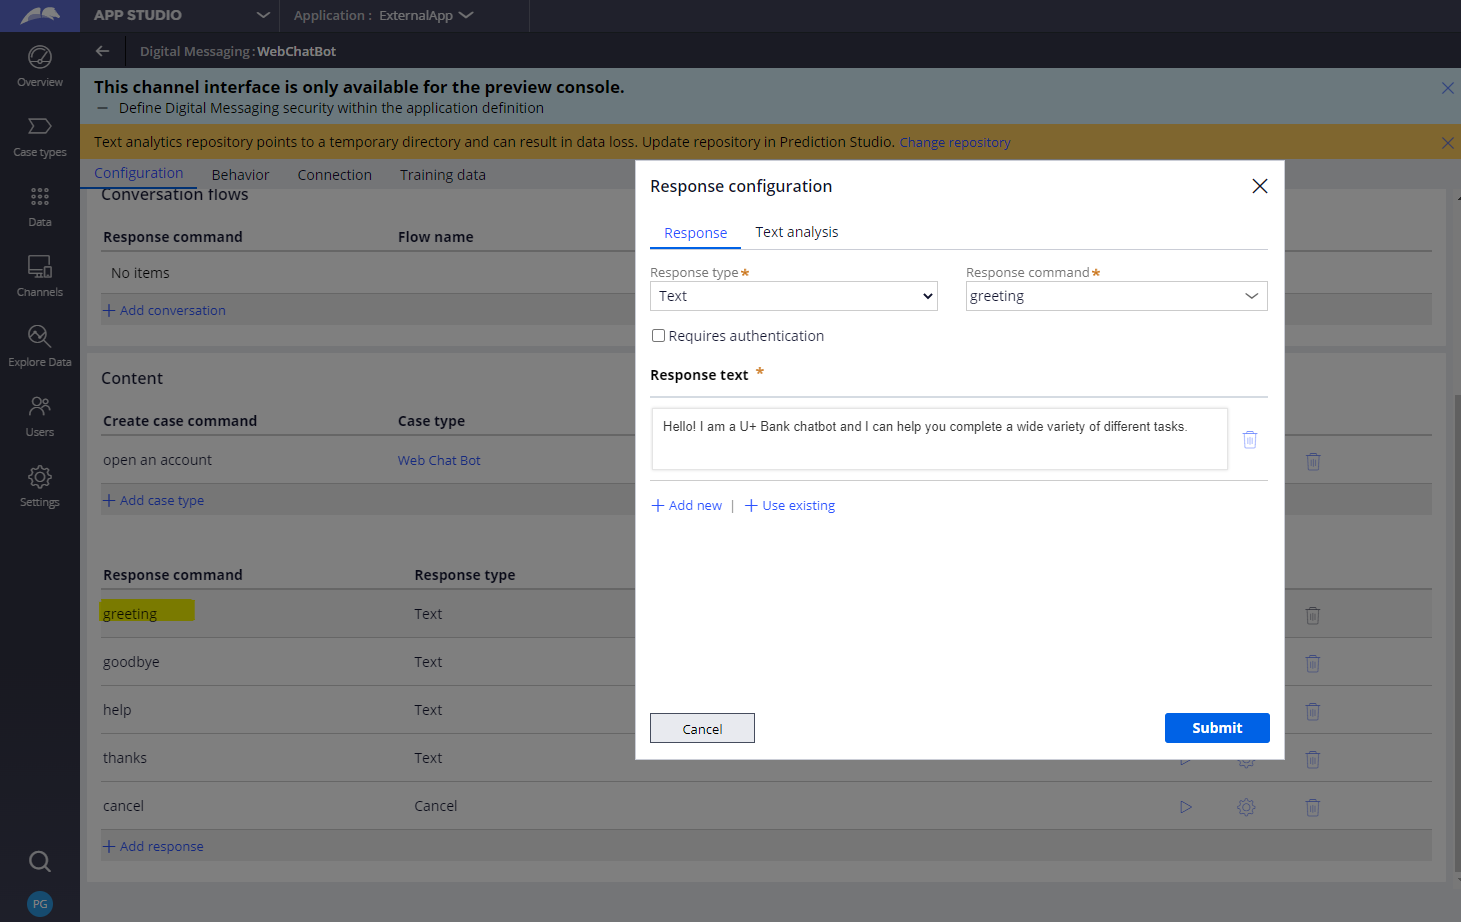
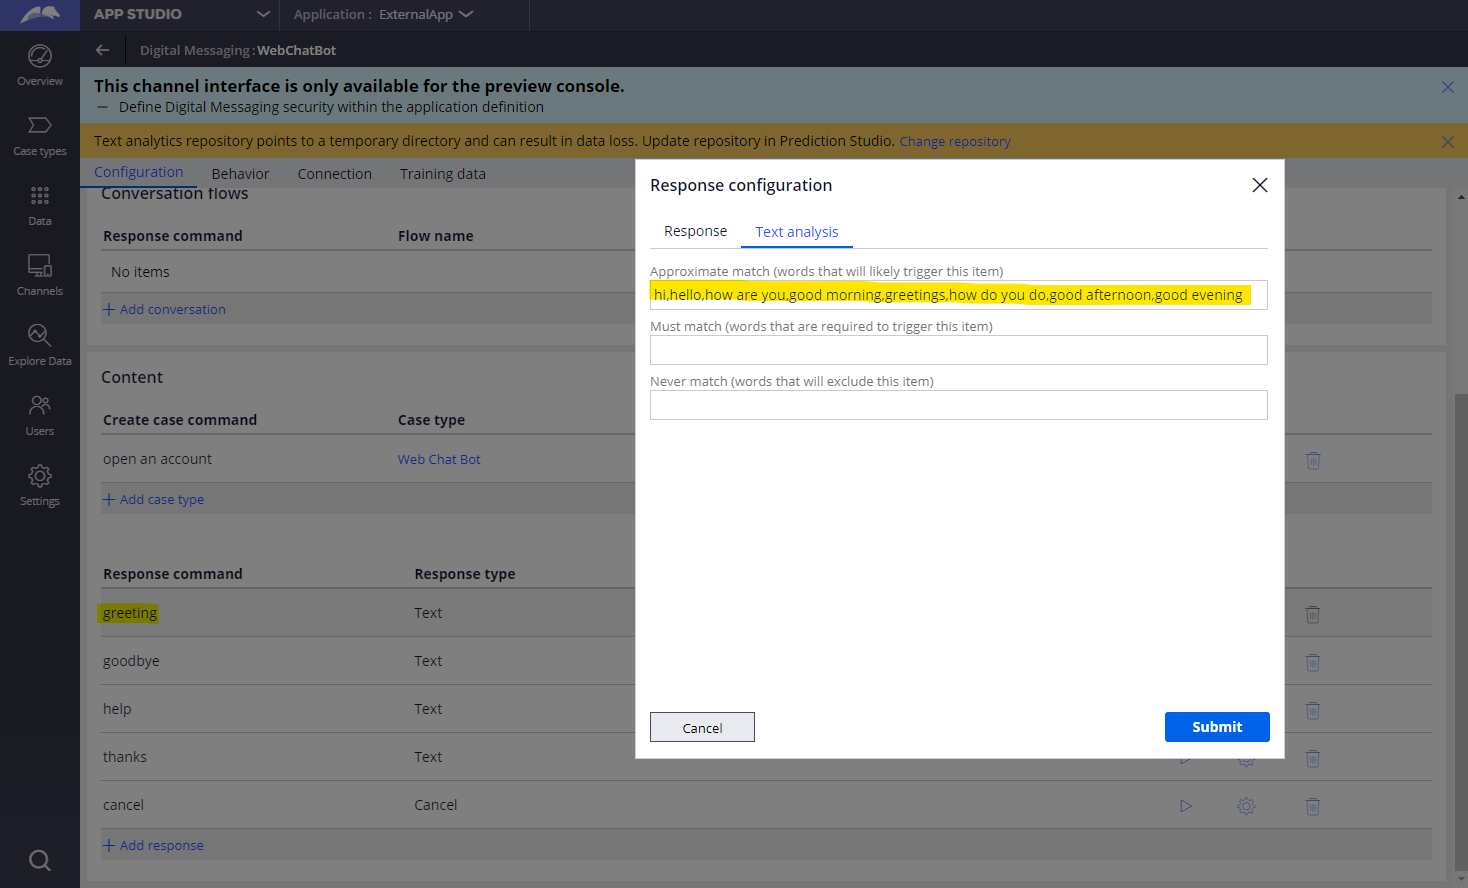
All the remaining tabs including Behaviour, Connection and Training Data can be kept as-is.
Now let’s test this from preview console:
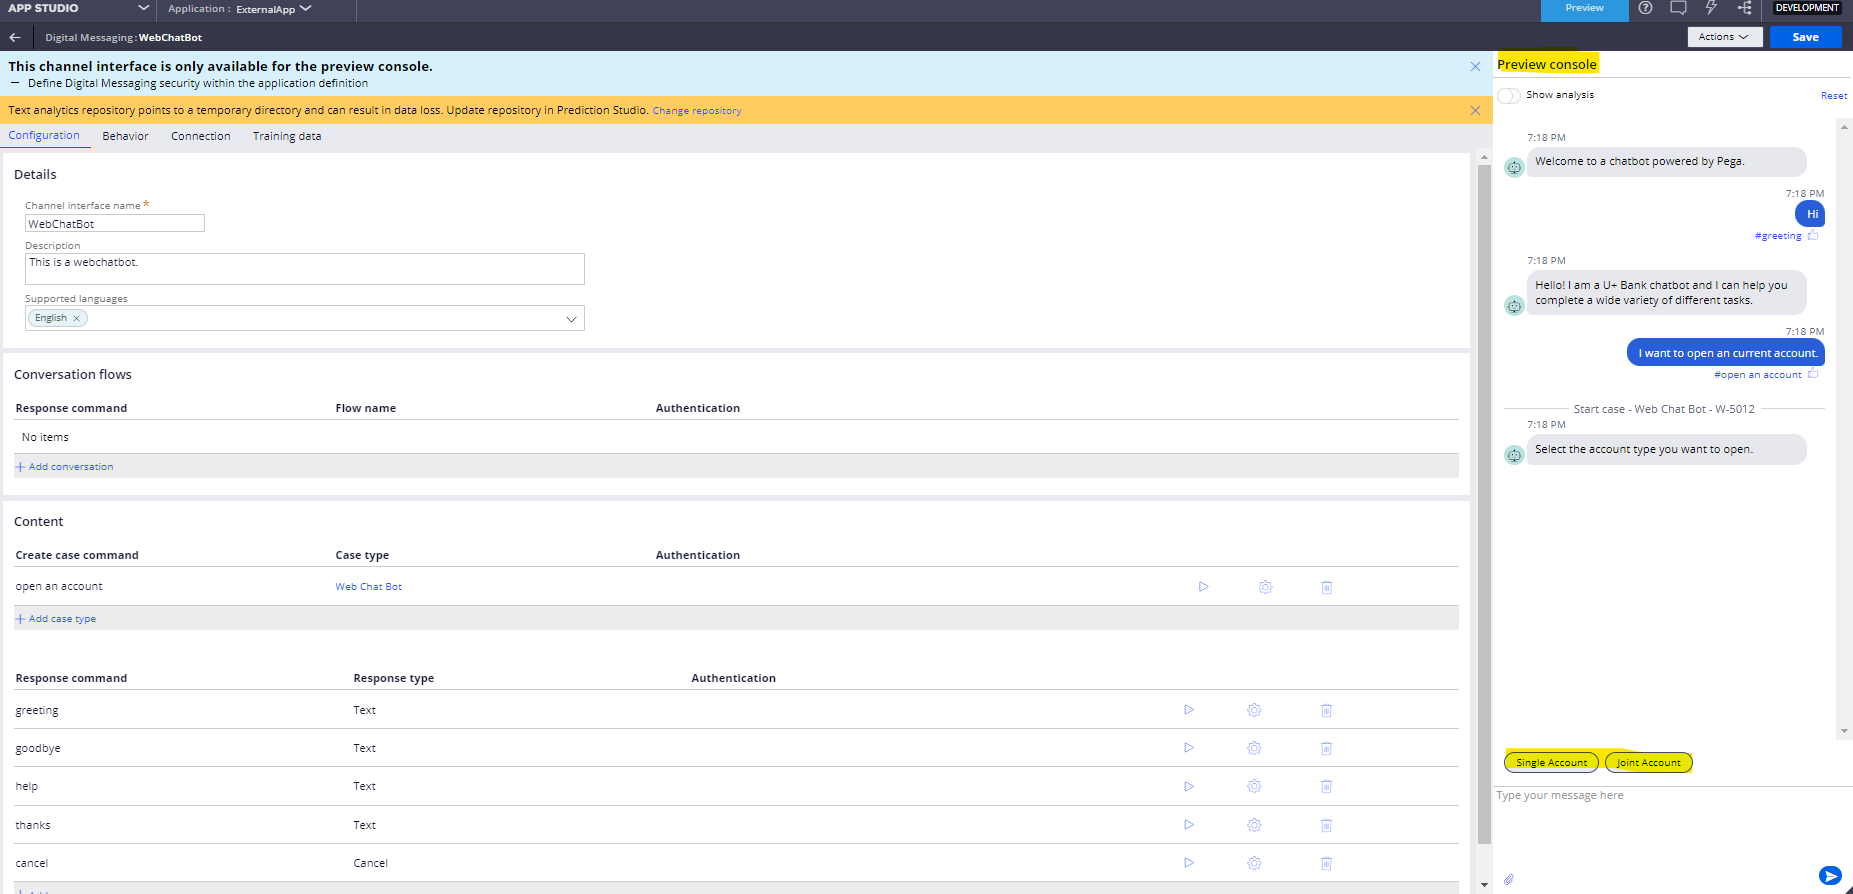
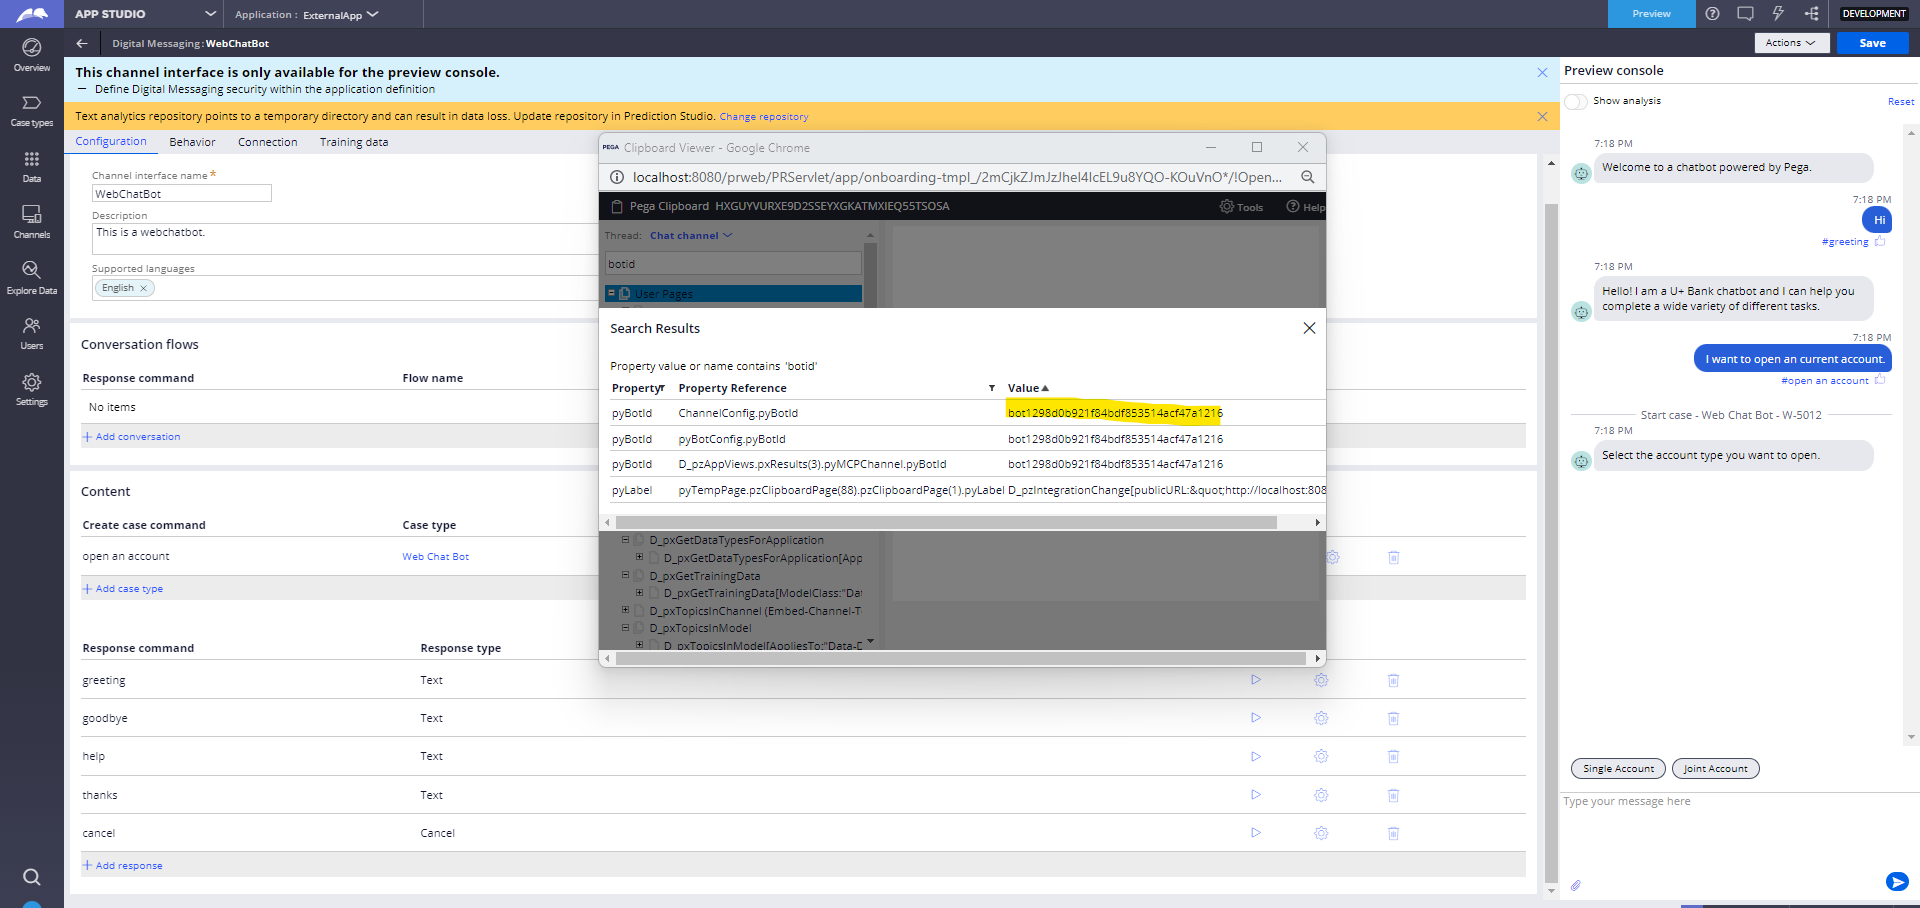
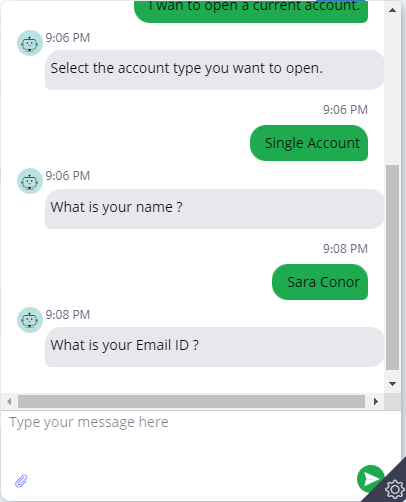
So when I typed the statement “I want to open a current account” it starts the flow and the keyword open is matched from text analysis. The chat bot is configured to respond with the text “Select the account type you want to open”
Now to use this chat bot on a portal we have to make few more changes.
Configure the chat bot in portal
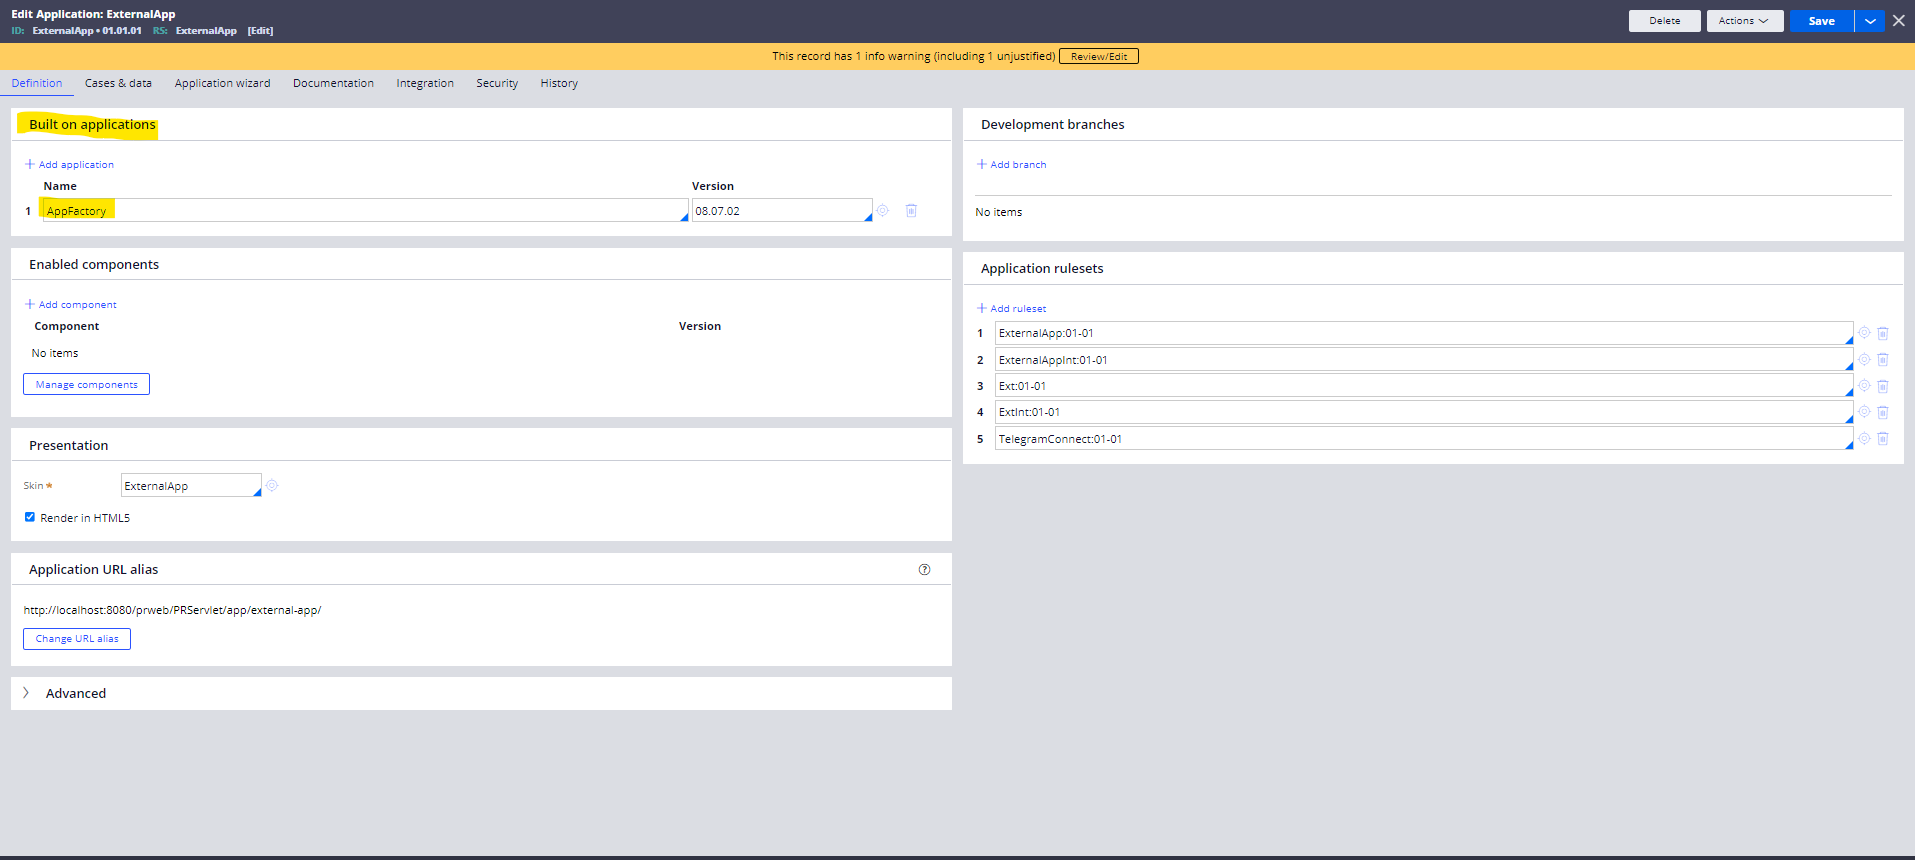
Go to your application rule and click on manage components
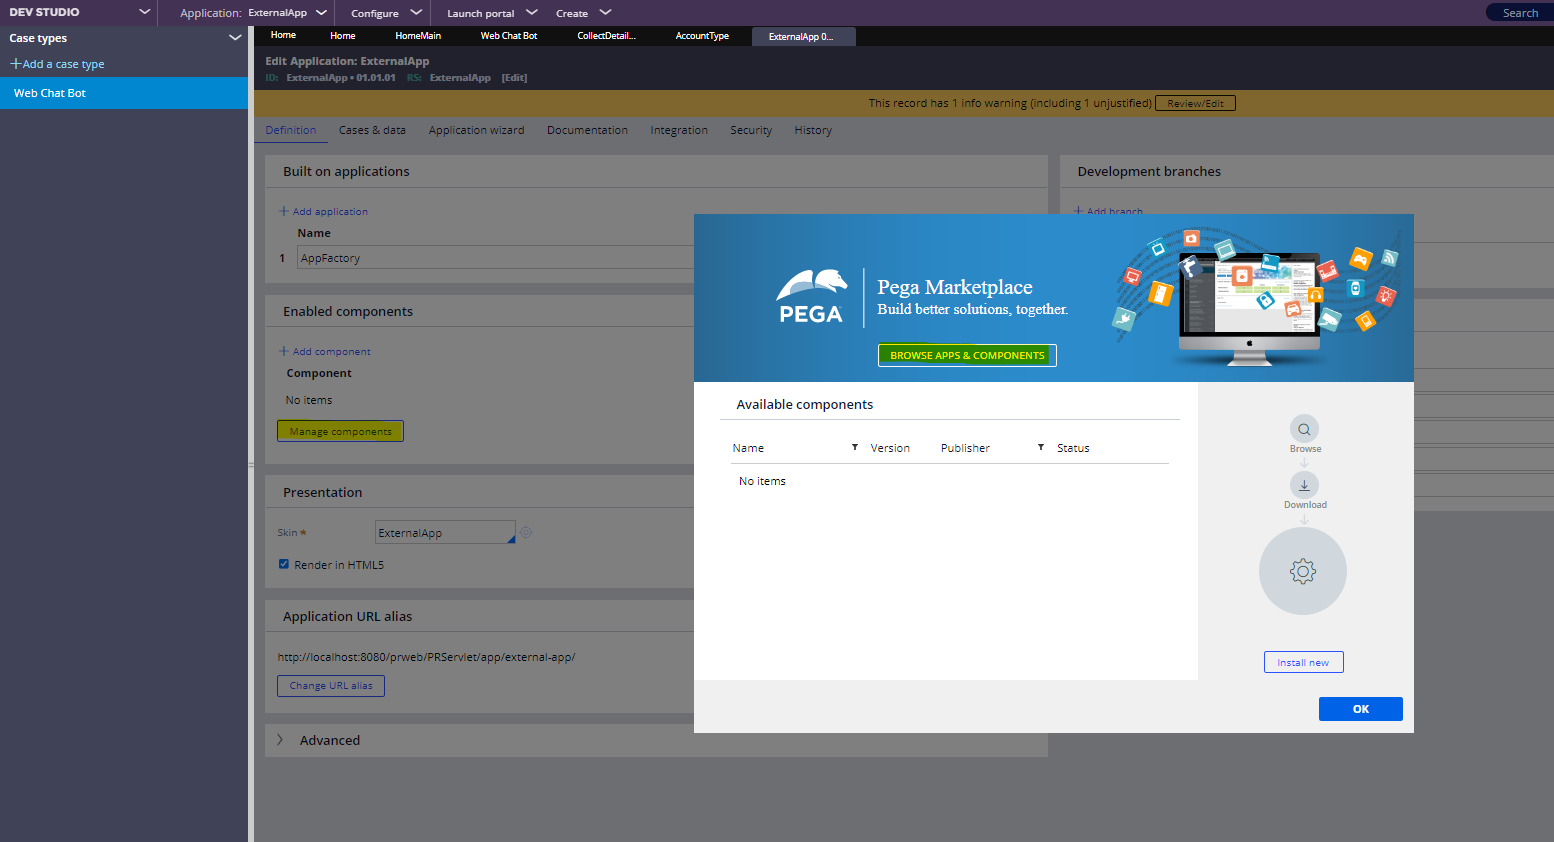
Browse for AppFactory on Pega marketplace.
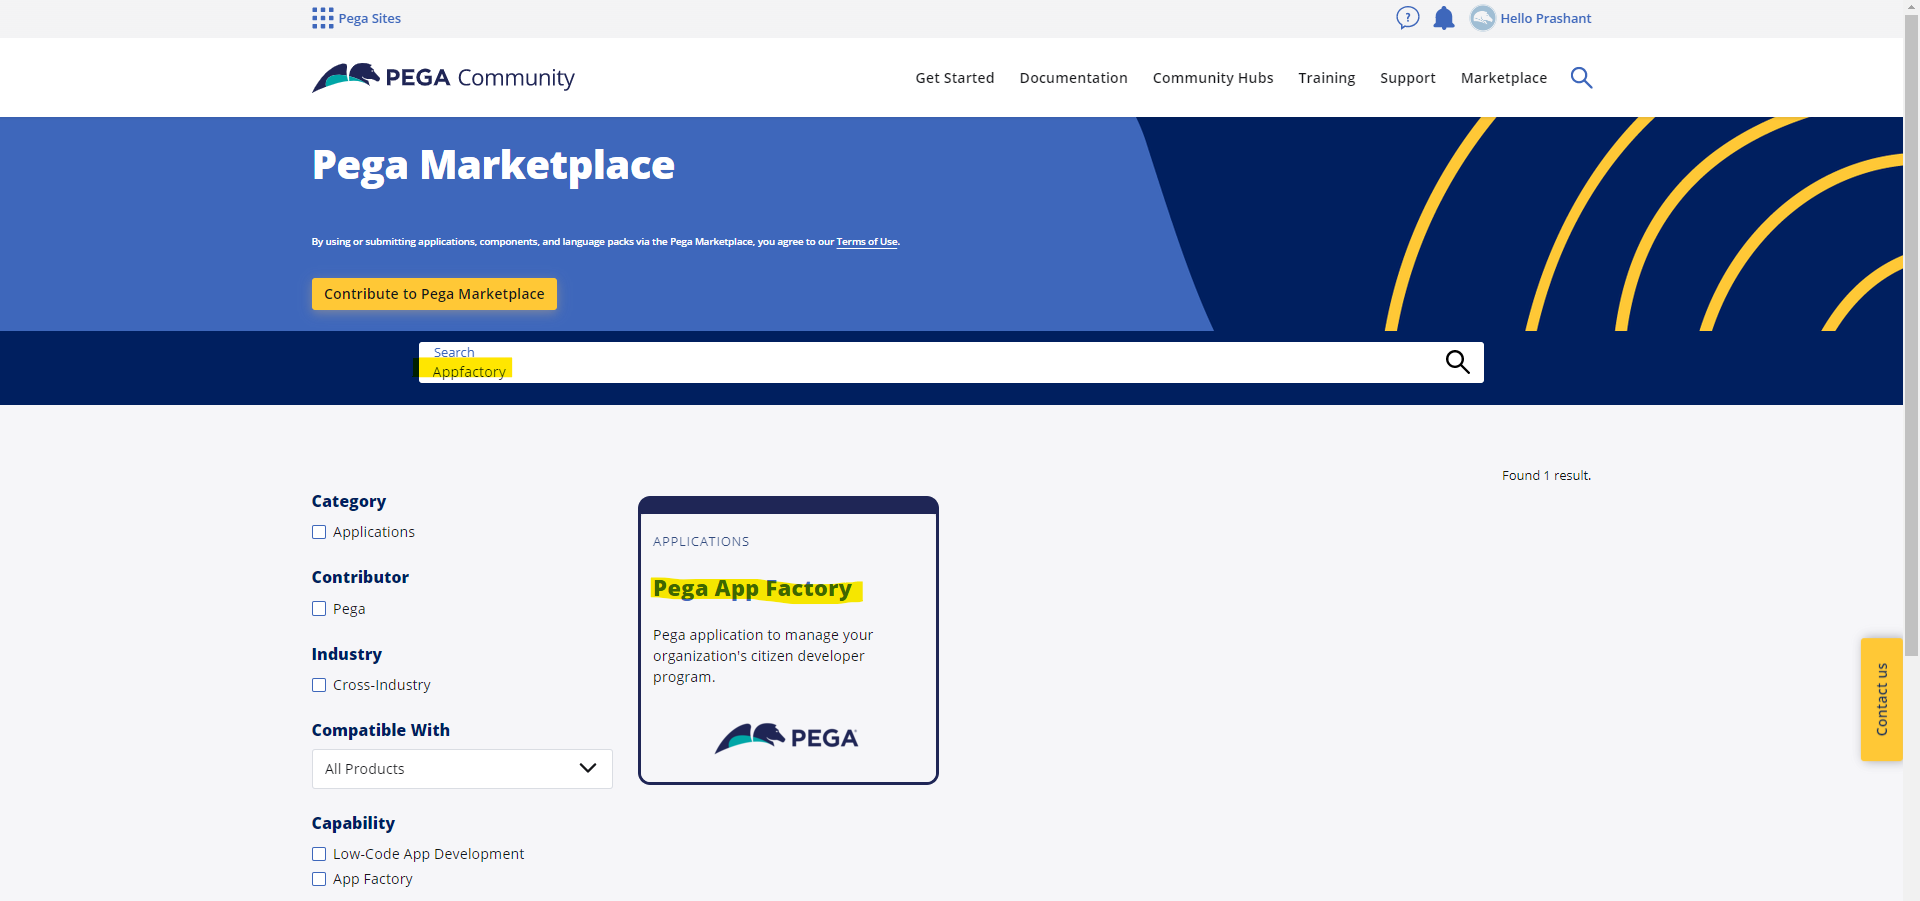
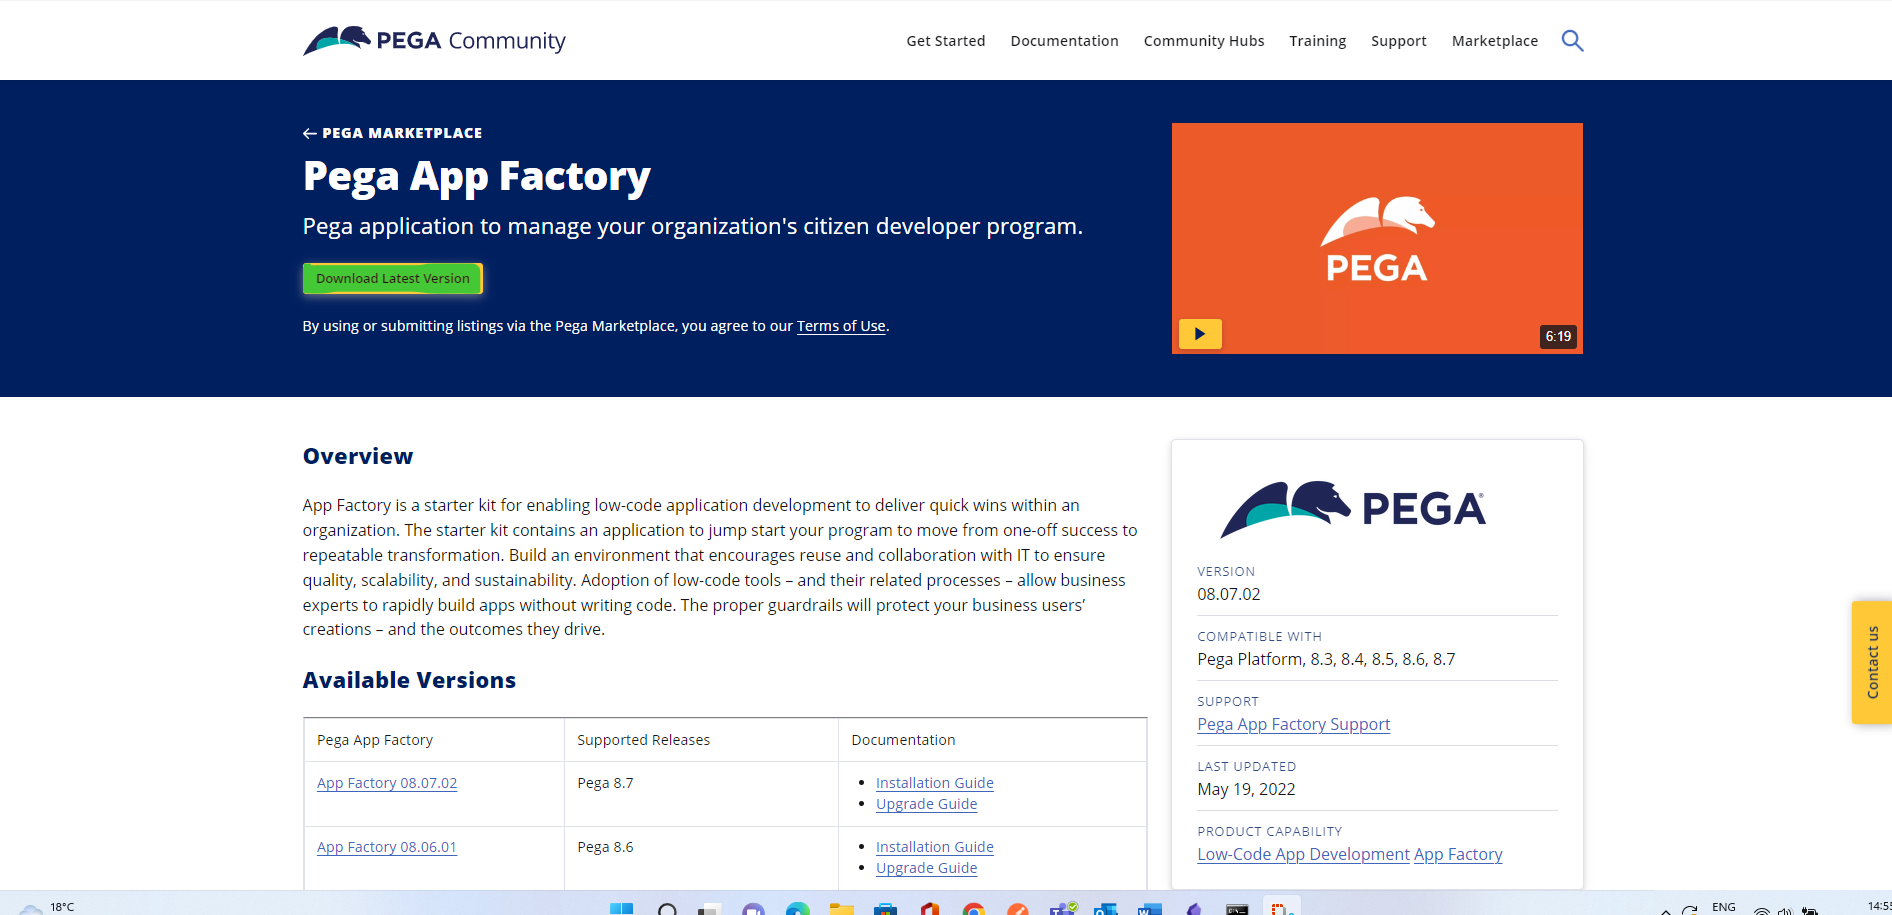
Download and import it in your Pega application. After importing it, add AppFactory as a built on application in your application and save the application rule.
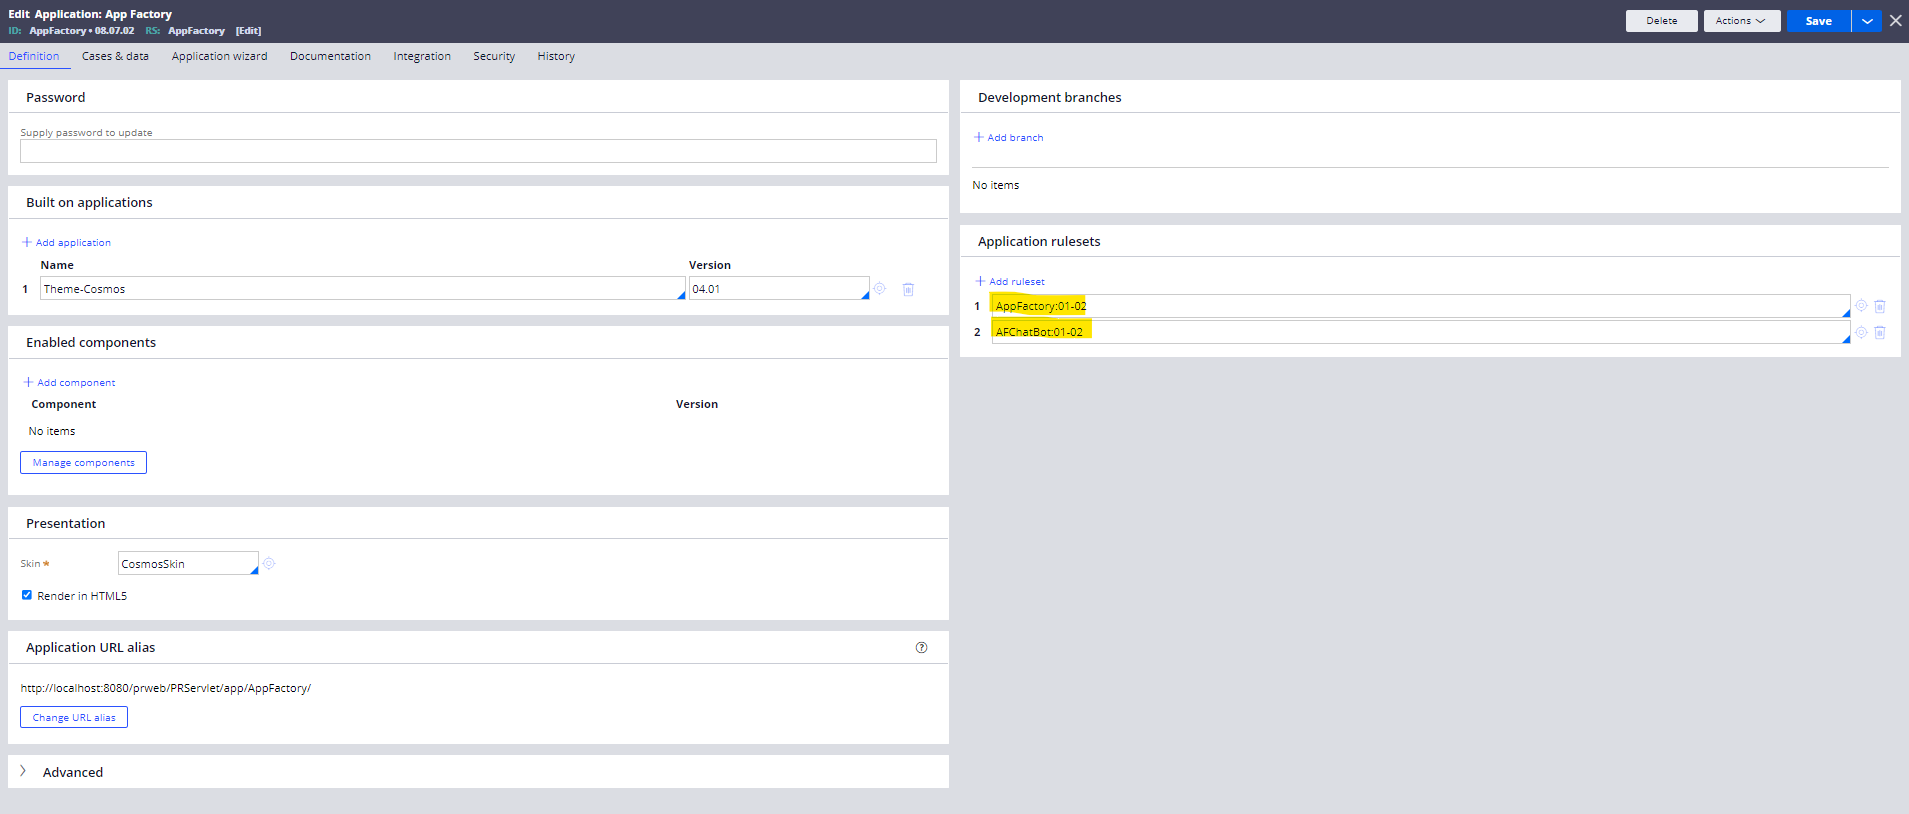
Then search for the section AppFactoryChatBot in AppFactory:01-02 RSV. Click on Save as to save this section rule in your application Ruleset.
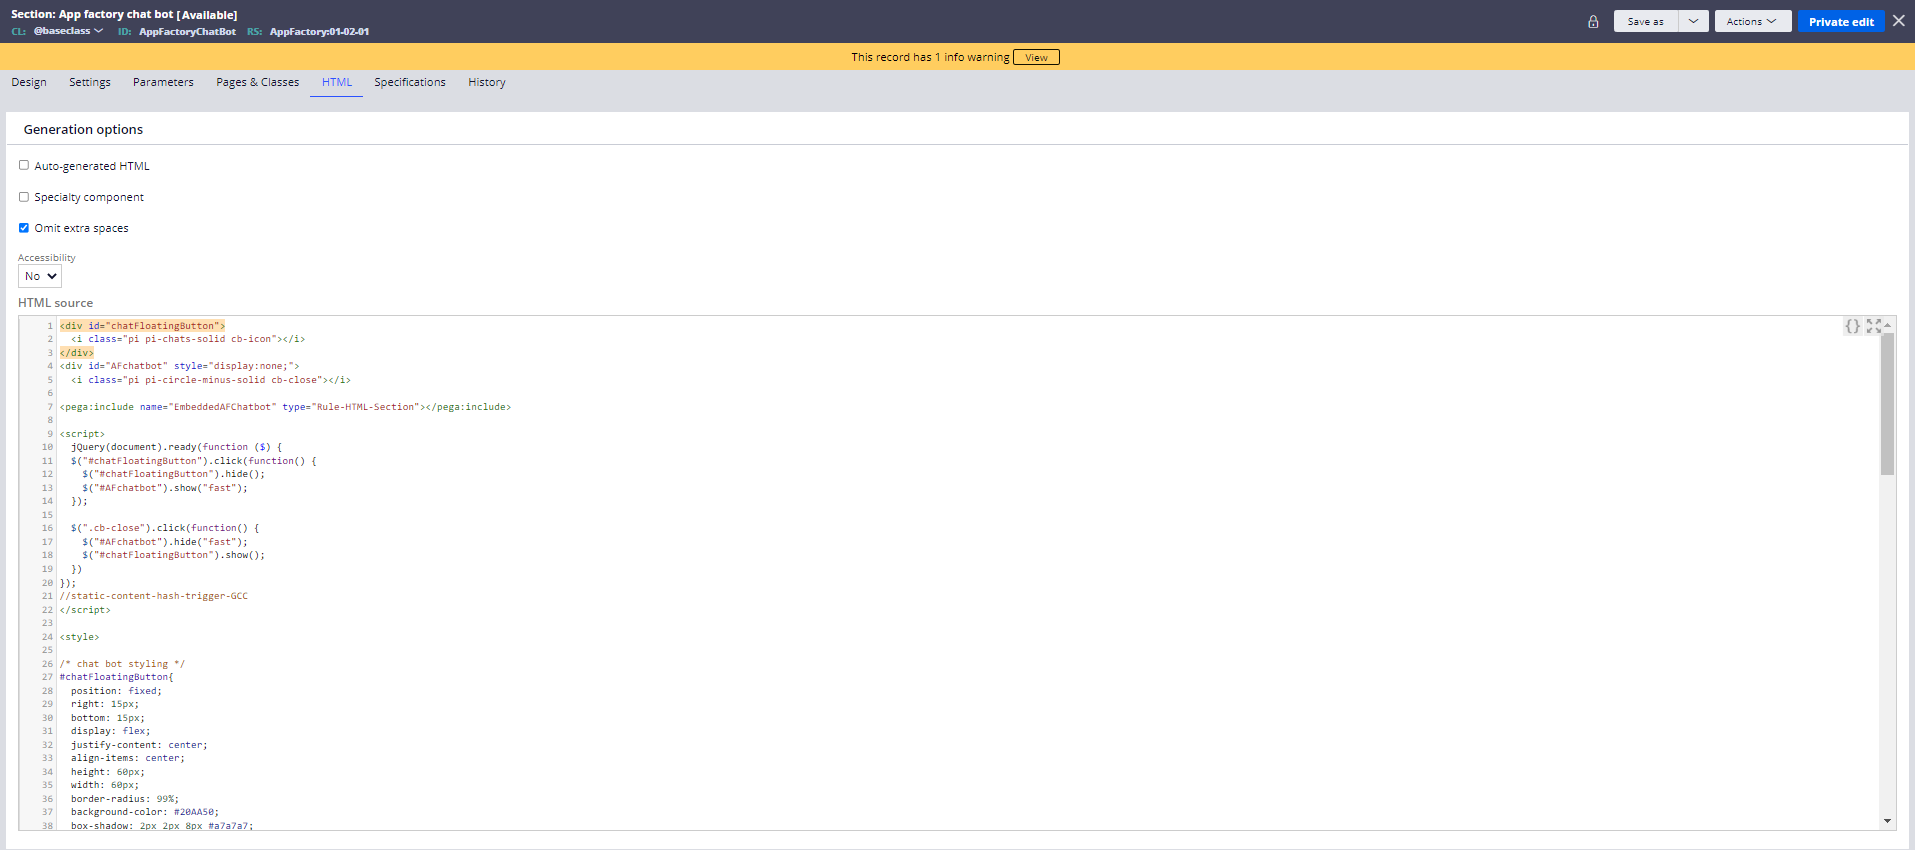

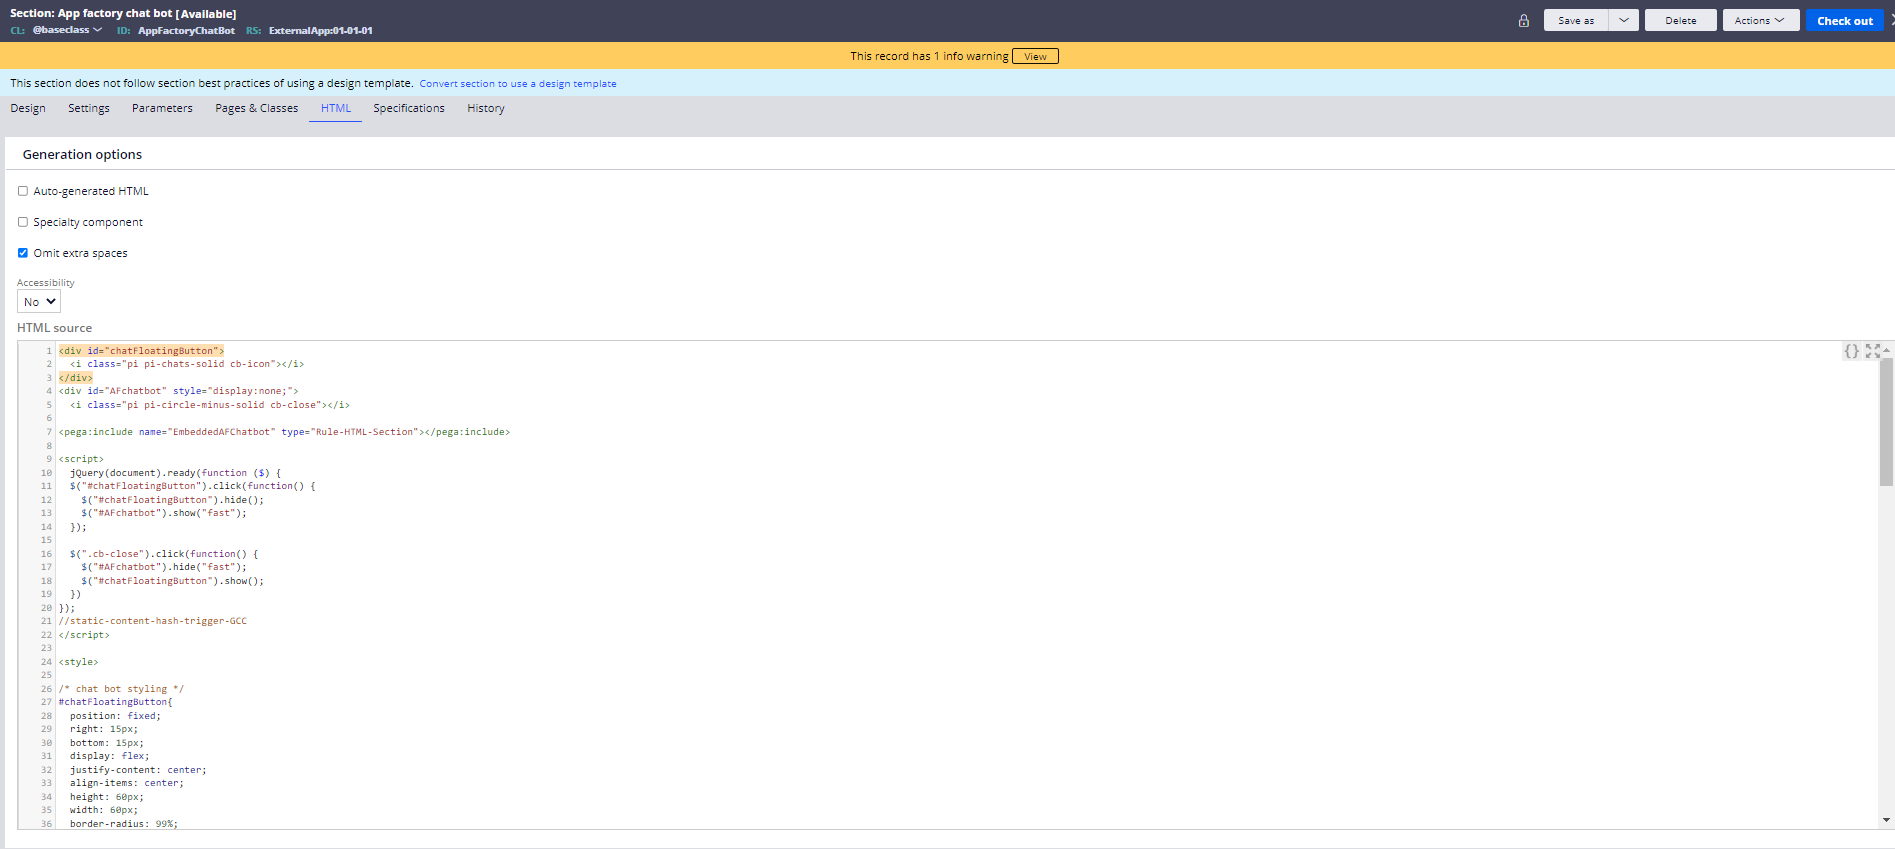
Search for another section EmbeddedAFChatbot in AFChatBot:01-02 RSV. Click on Save as to save this section in your application ruleset.


Now go back to app studio and open the WebChatbot channel and check the bot ID from the clipboard. We have to make sure that web chat is open from console.
Open the section EmbeddedAFChatbot from your application ruleset and replace the bot ID here.
Then launch the user portal, start Live UI and check for the portal section.
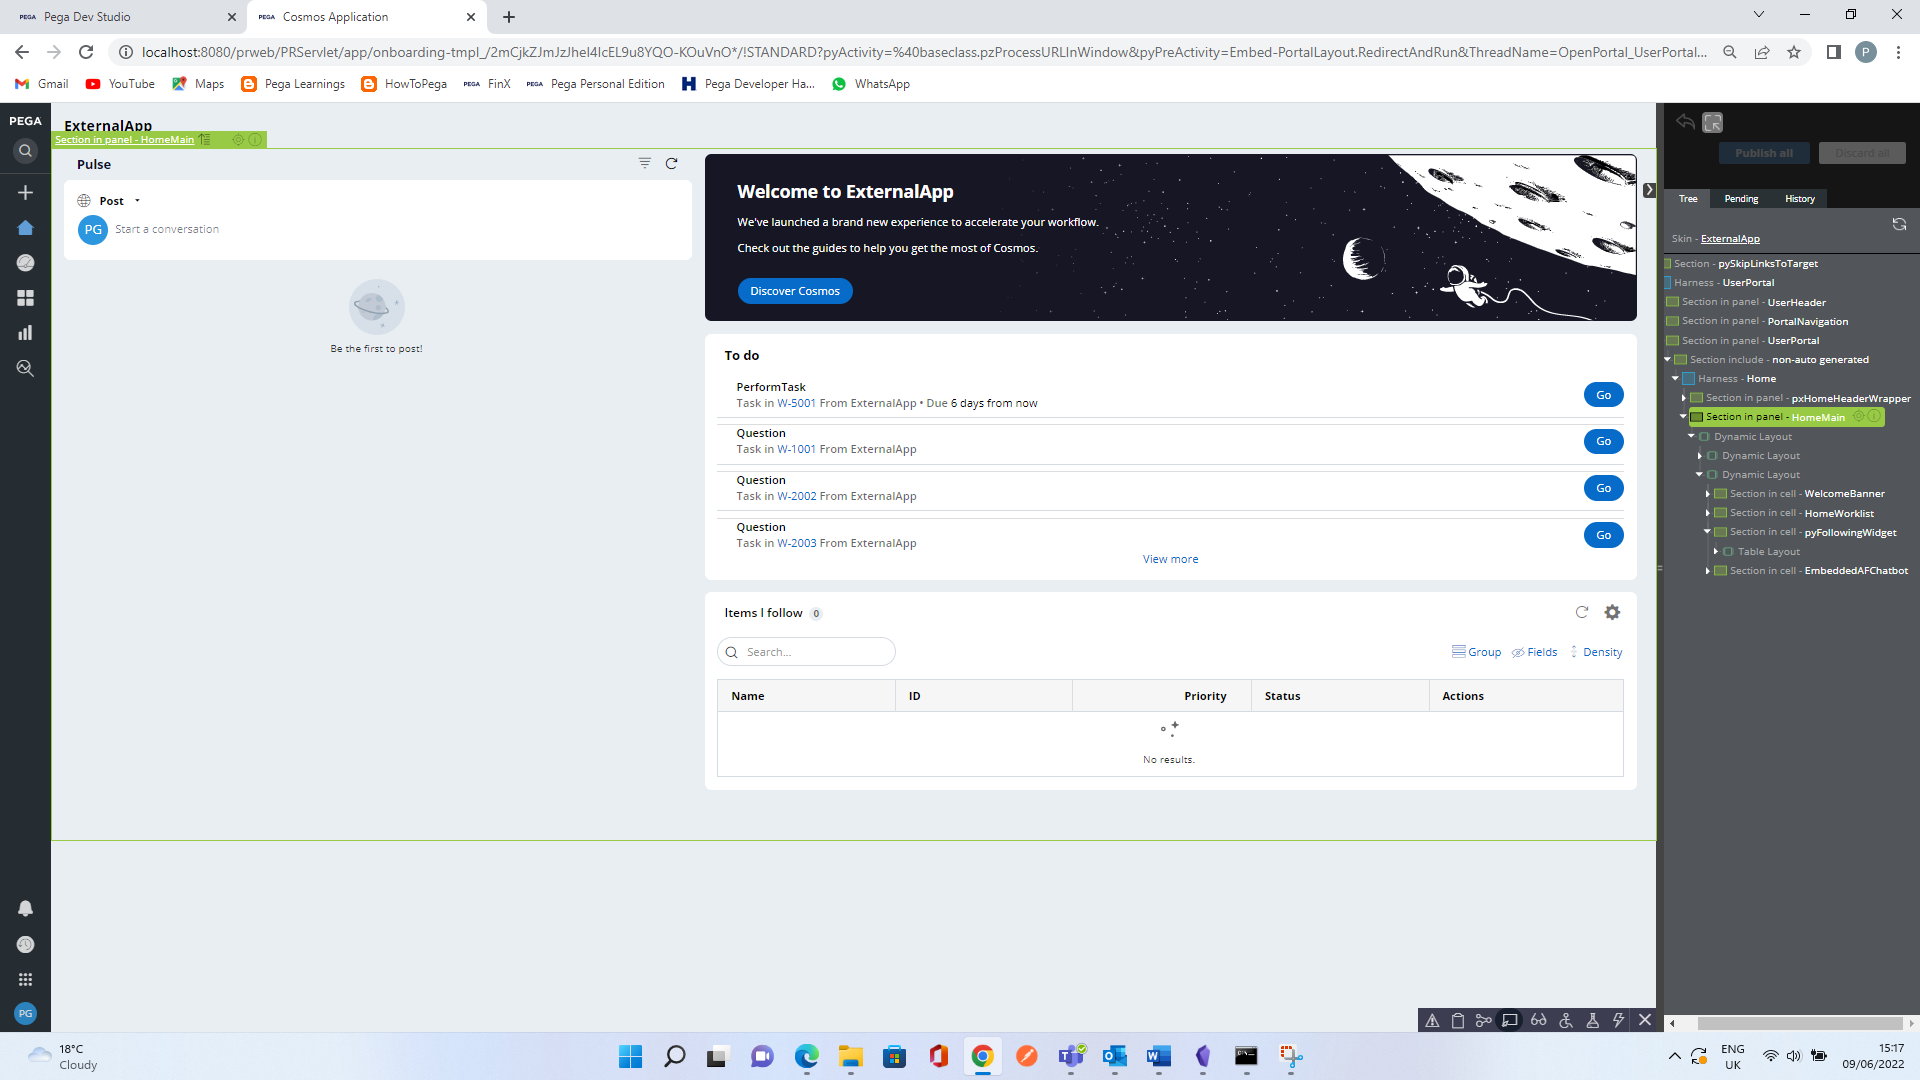
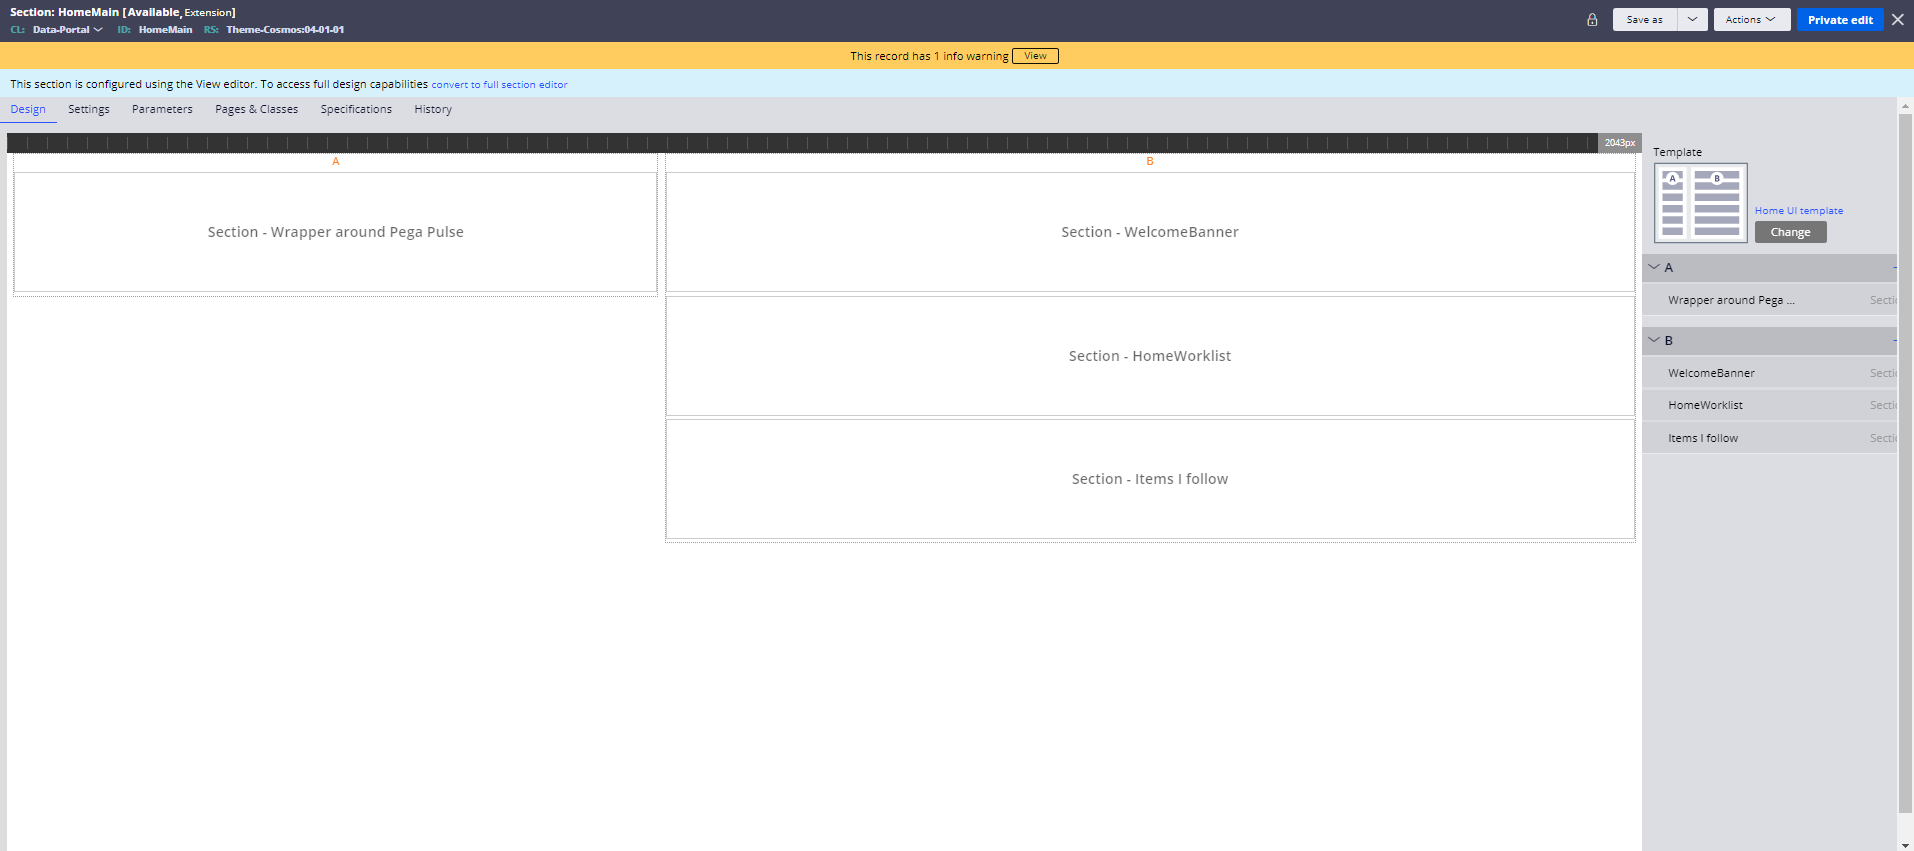
Click on Save as to save this section in your application ruleset and add section AppFactoryChatBot at the bottom.
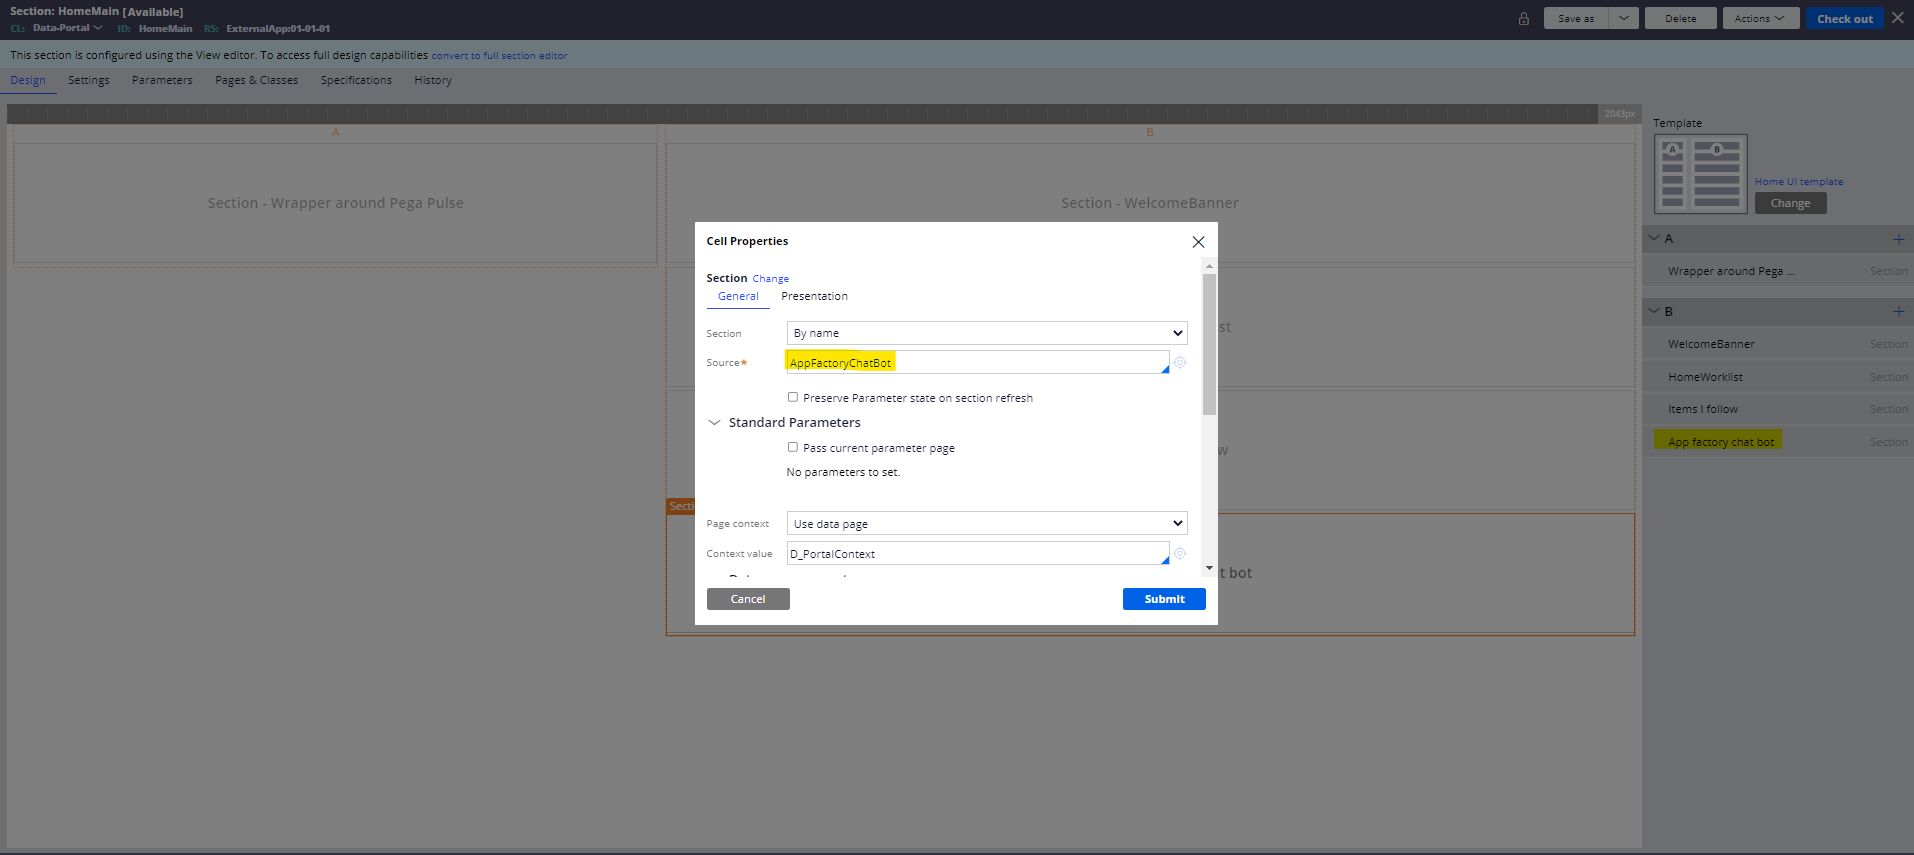
Save this section rule. Log off and then log back in to launch user portal.
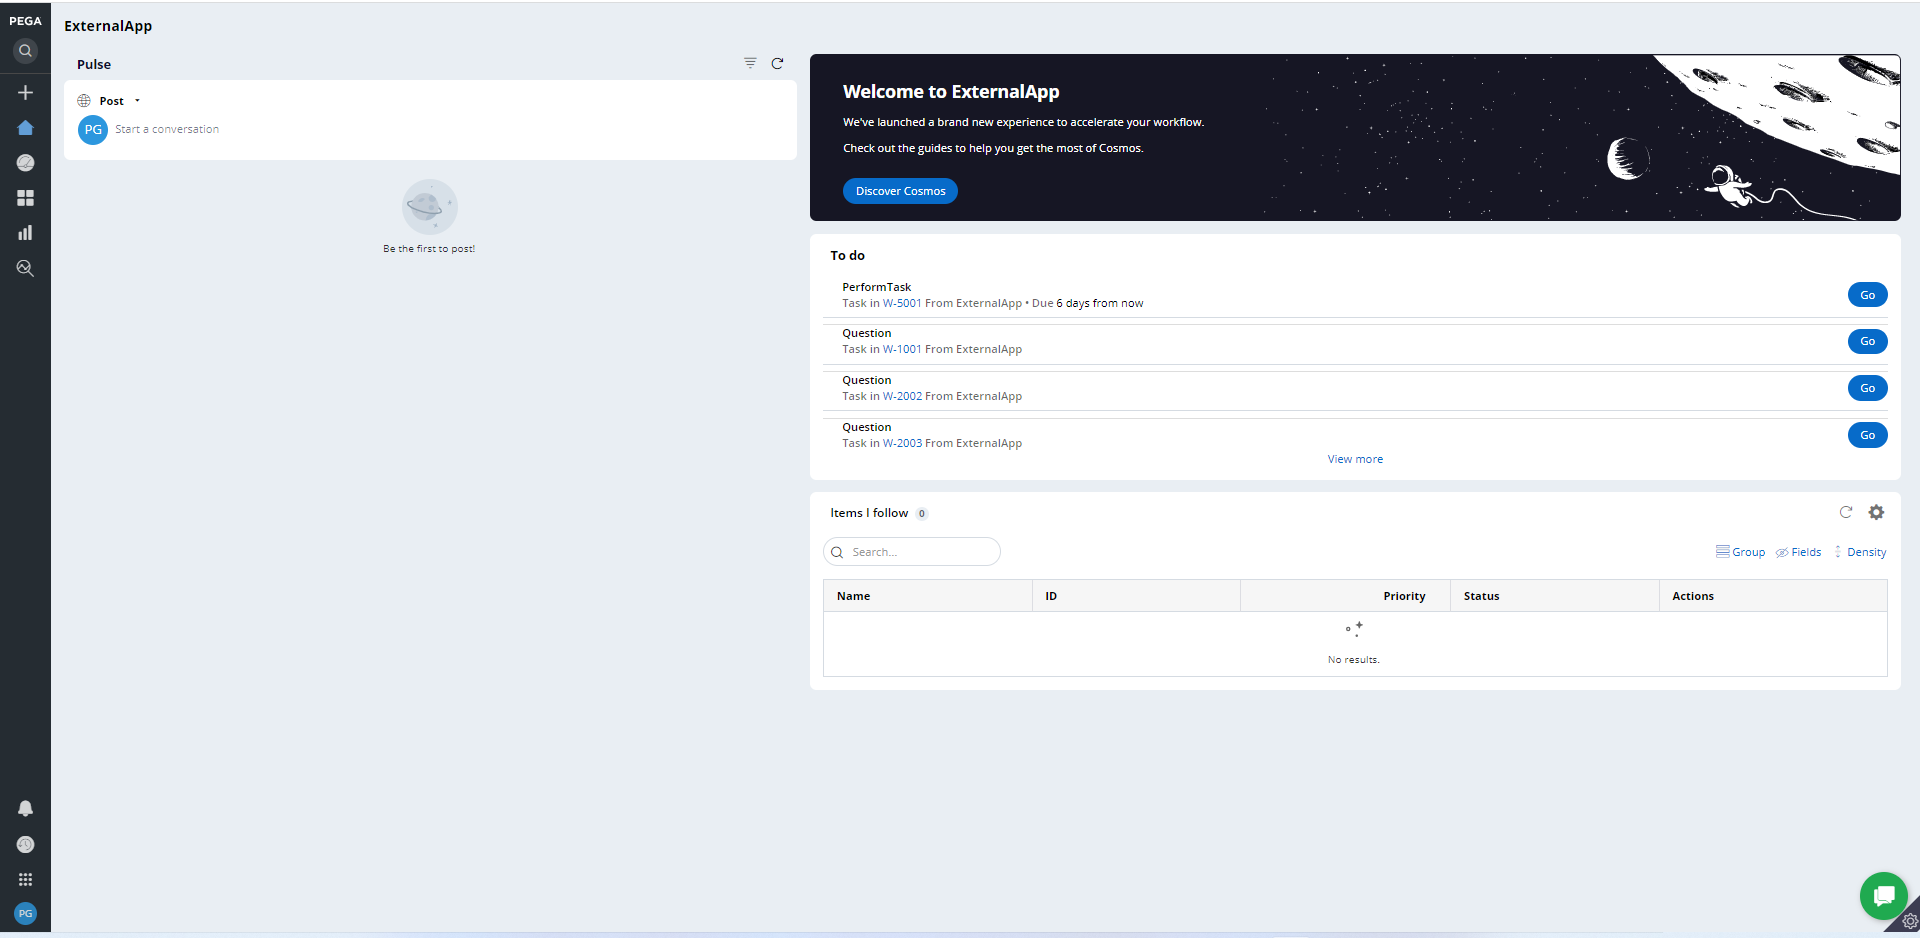
You will see a green chat icon at the bottom right corner.
Now let’s test this chat bot from portal. Click on the green chat icon.
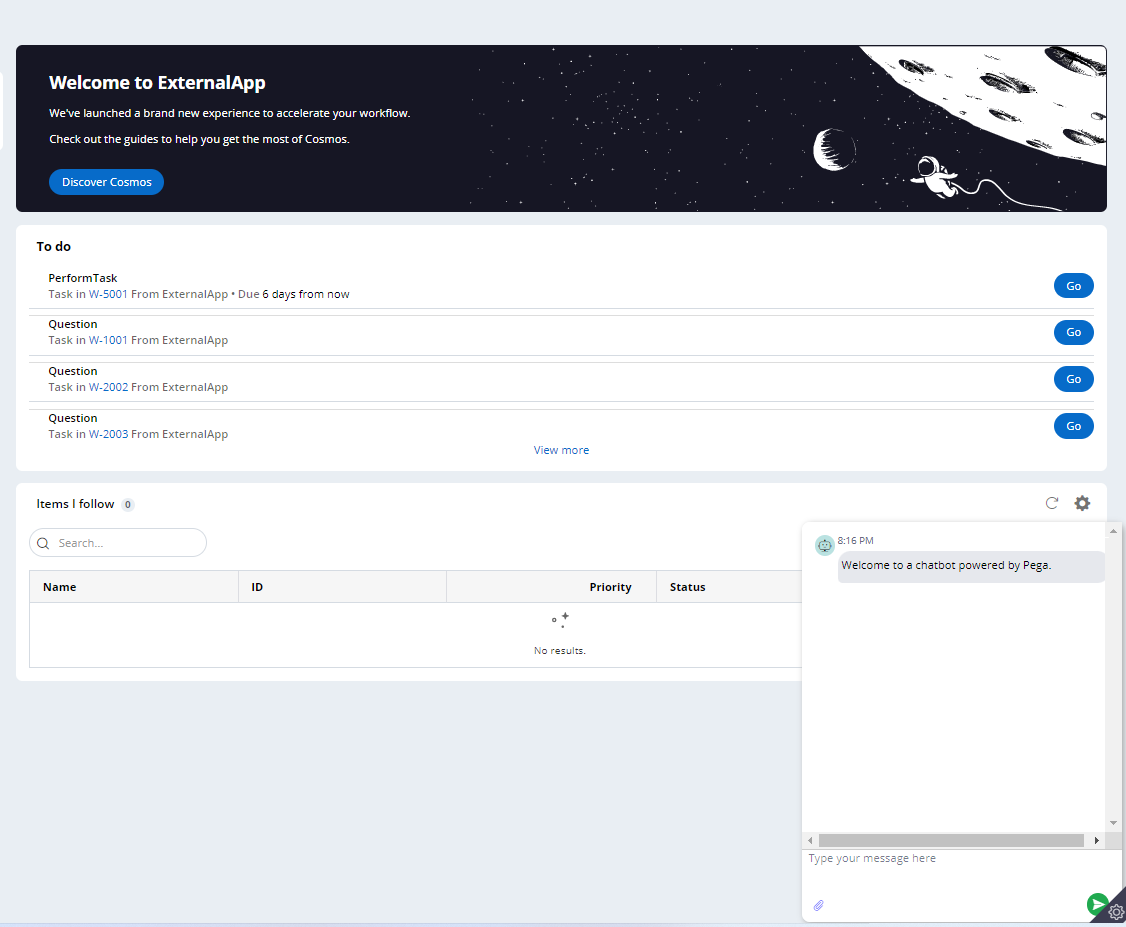
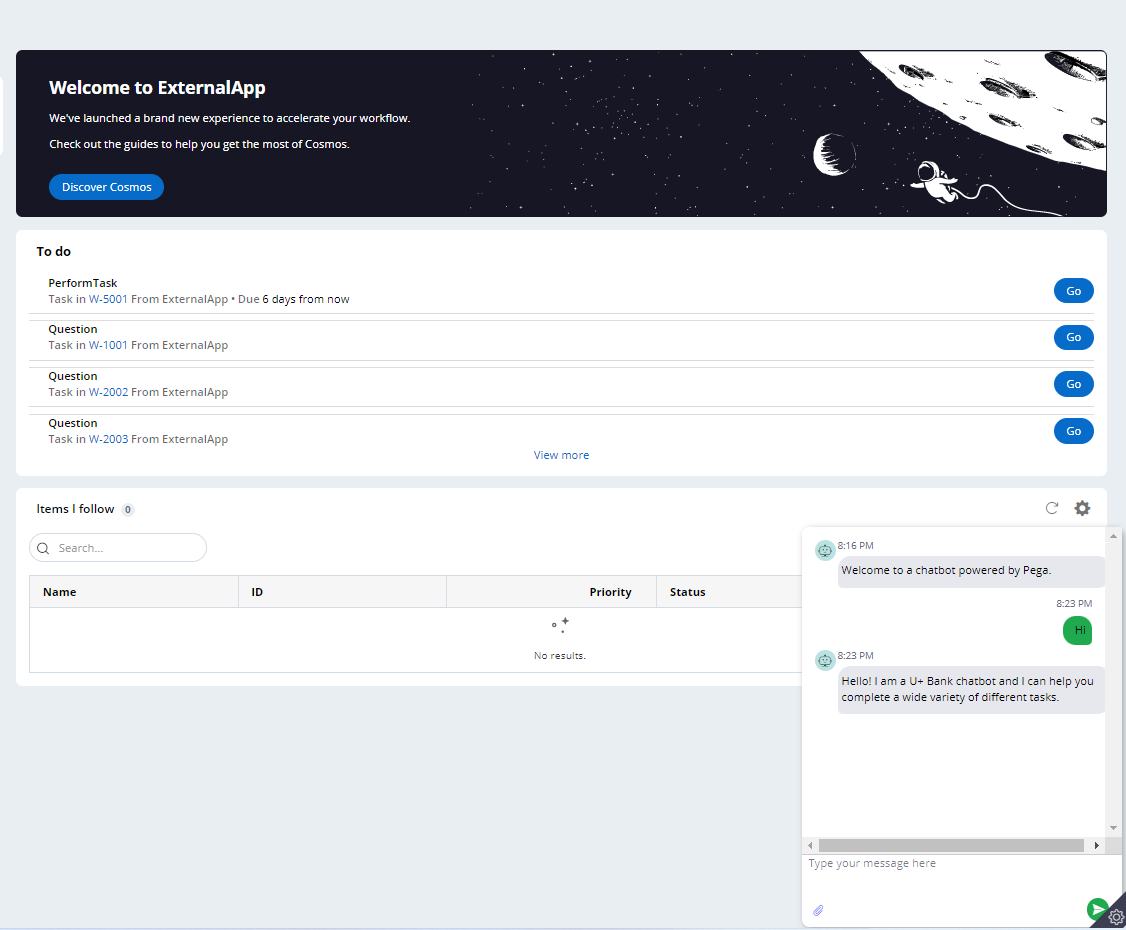
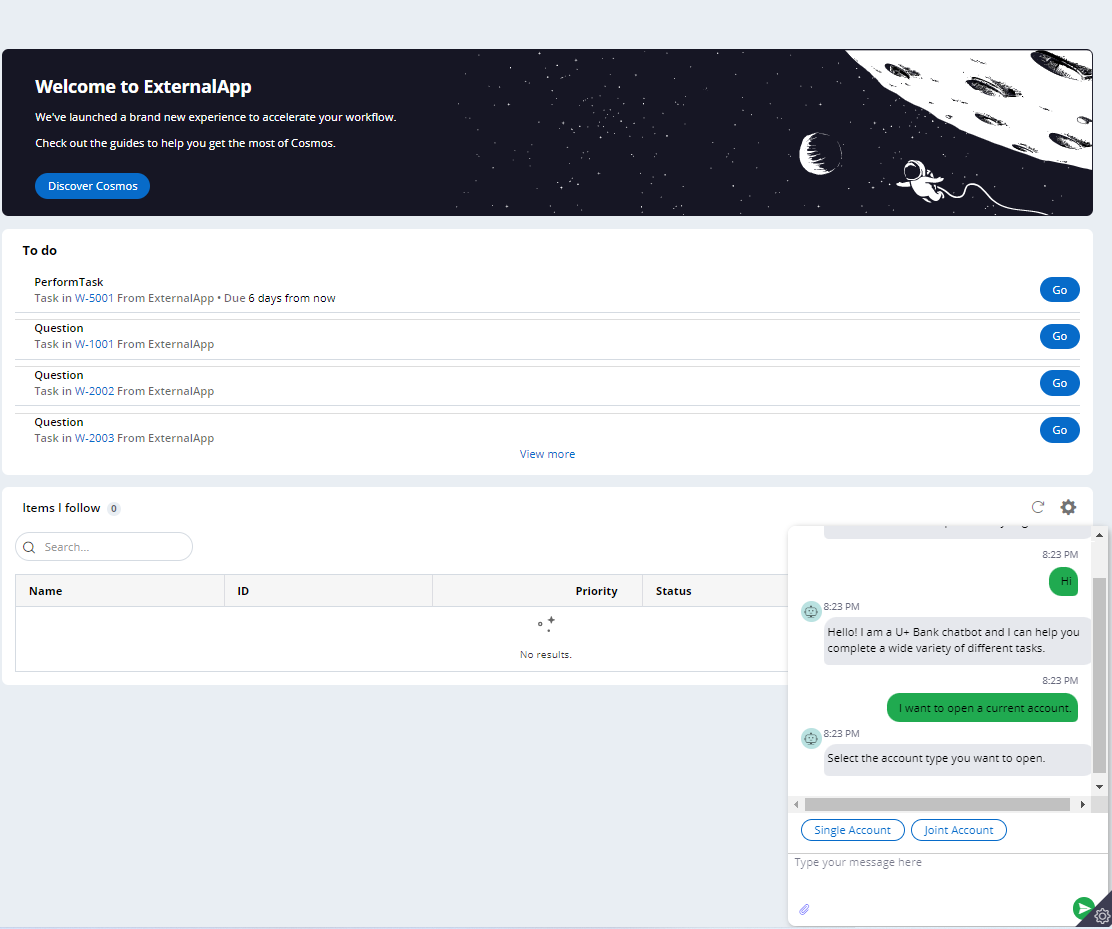
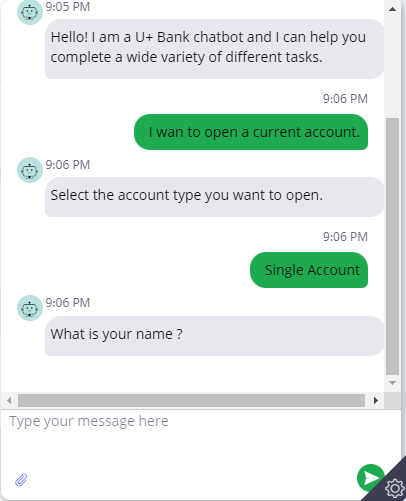
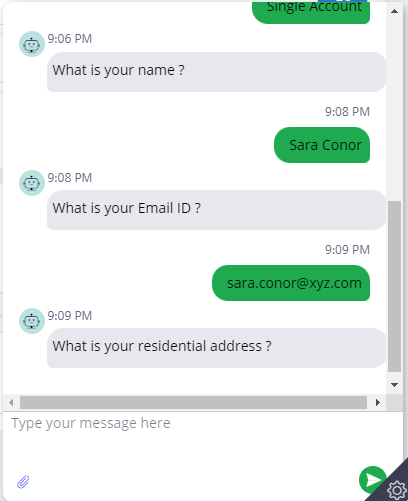
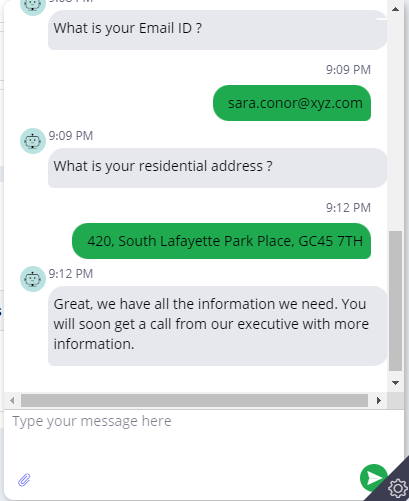
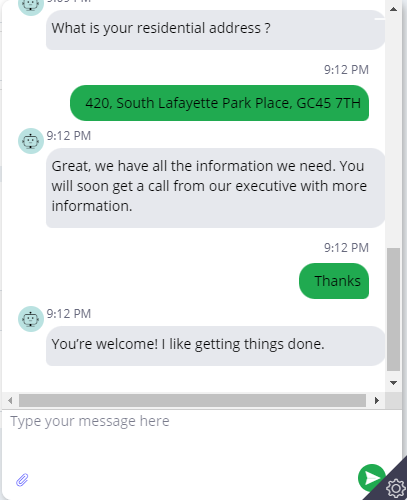
as soon as I typed the statement “I want to open a current account.” as per the text analysis it opened the case WebChatBot and started asking the questions that I have set for this bot.
This is the end of the article and I am hoping you have understood the concept very well. In case you have any doubts or queries please drop a note in comments section.
